Paper and Fiber Arts


Welcome to my mixed media blog. Thanks for stopping by.
Showing posts with label Frame. Show all posts

Wednesday, January 4, 2017

Perpetual Calendar with Leftover Embellishments

Most of us have leftover bits and bobs from previous projects.  Items that are too nice to throw away but too few to use on a new layout or set of greeting cards.  Maybe because Christmas was still on my mind, I was thinking about ornaments.  Or maybe I just like dangly things that sparkle.  Regardless, I knew I was going to make something three-dimensional and practical the next time I played with my stash of stuff.


I have been wanting to make a new perpetual calendar for awhile and finally decided to start the New Year with one. It met the criteria of useful with ornament-like attributes.


This is super simple and did not cost me anything since I already had everything!  I love free projects!


The frame came from CTMH. It would be easy to make one, though.  A picture frame and some wire and some way to secure it and voila!  The little hooks to hang each of the dates are from Oriental Trading.  They are called "Artist Safety Pins".  However, it would be easy to just use some wire to make a loop. Or yarn, string, floss, thread, etc., would work as well.  If you have lots of eyelets lying around you might use those up to add stability to the hole.


If I did not already have a frame, I would have used a piece of wood and arranged nails on it in a grid to hang the ornament/dates.


If you decide to make one, I would love to see it! 
Thank you for visiting!
Beverly

Saturday, July 30, 2011

Picture Frame Turned Bulletin Board


My dh needs reminders about simple things, so I made this to hang in the laundry room for him to see when he comes in from the garage.  The man is brilliant, but can't figure out which bowl in the refrigerator is a meal and which is cooked ground beef saved for adding to the evening's dinner.  Yep, you guessed it; one day he took a pound of meat to work for lunch and left a complete meal packed especially for him in the fridge.

The Roxie B & T papers have so many potential uses.  I love how they can be feminine or masculine based on the embellishments added to the project.  On this board, I kept it very simple but I couldn't resist blinging up some thumbtacks with the new CTMH Rhinestone Designer Brads.  They adhere easier to the tacks if the back prongs are removed.  I just snipped them off with wire cutters used for jewelry making.


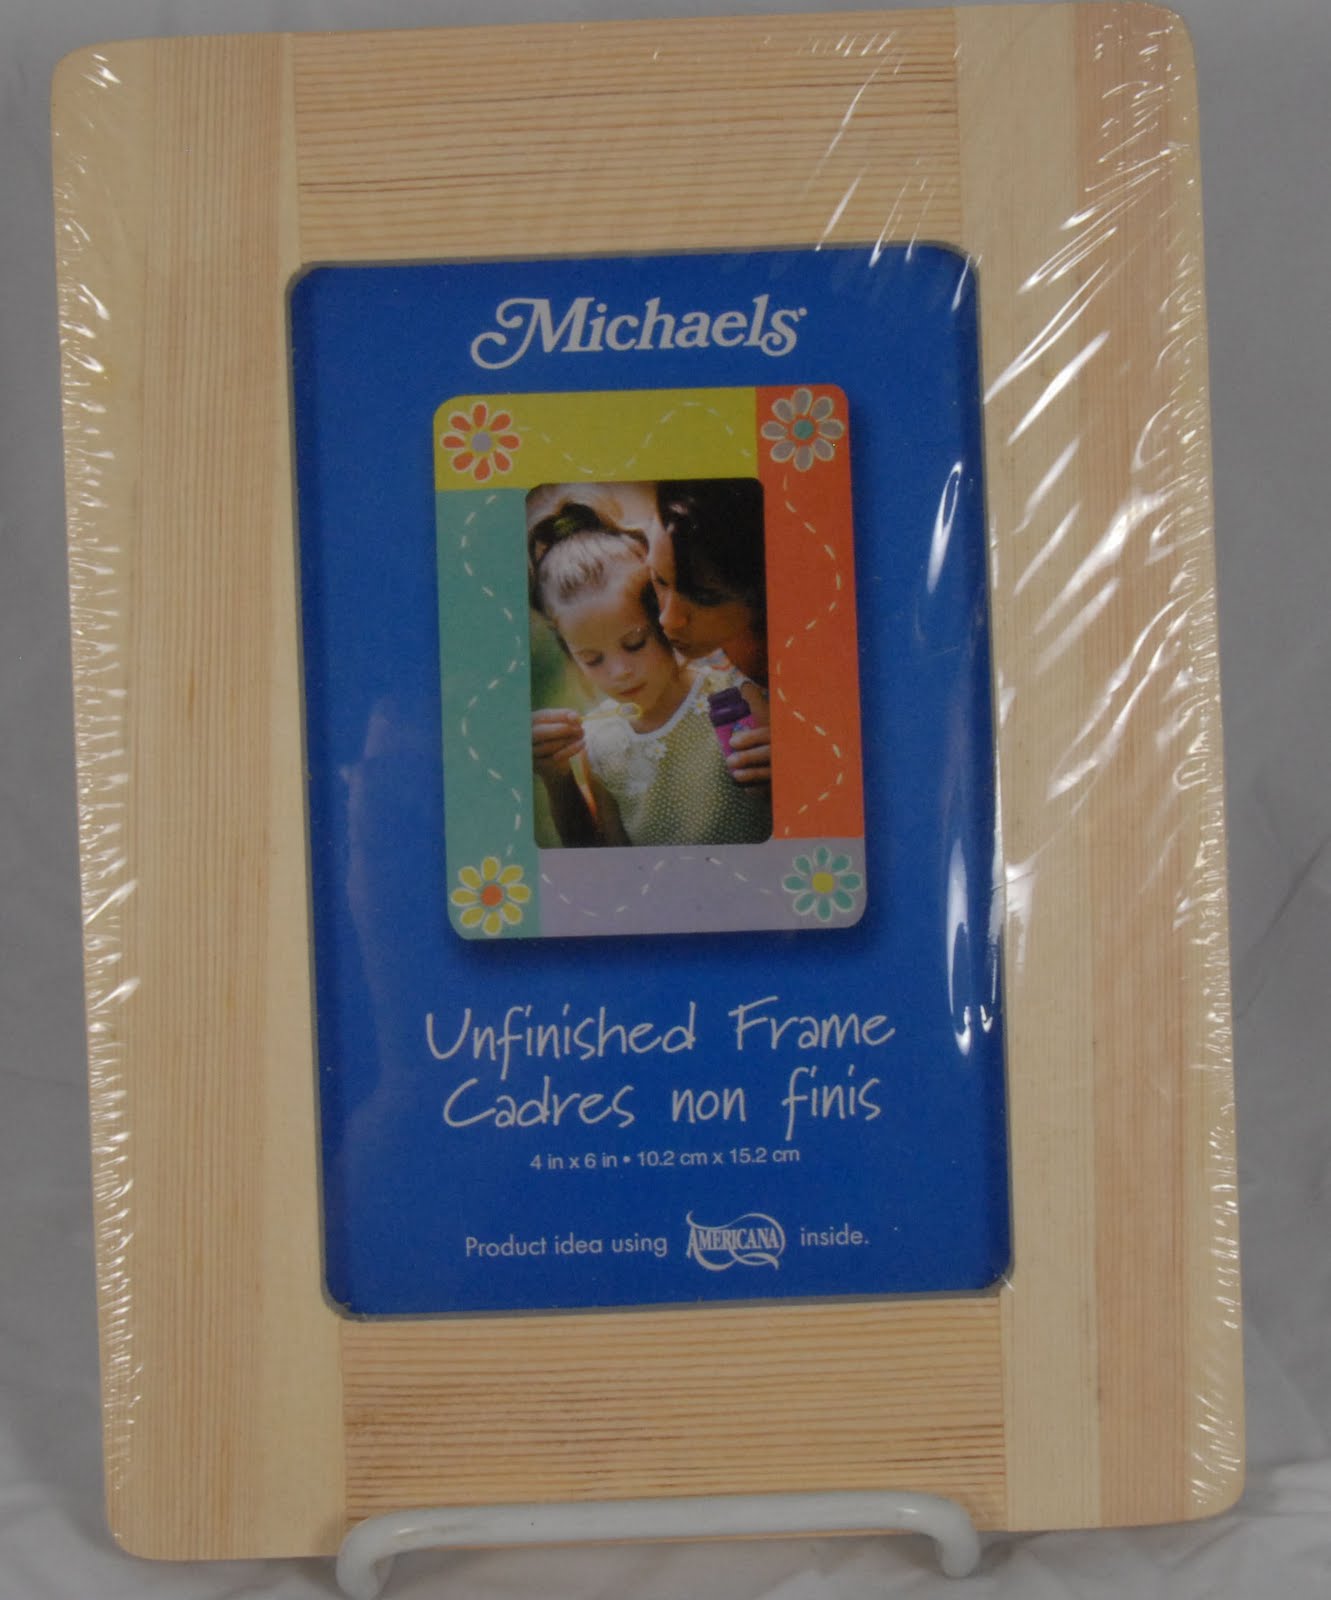
The project started with a plain wood frame similar to this one.  The one I used was for a 5 x 7 photograph.  I painted the edges black, adhered the paper,  adorned some stamped images, stuck a piece of cork where the photo is supposed to go, attached the ribbon and voila, Done!  It was one of the fastest projects I've ever completed.  It was also very inexpensive. Gotta love that, too!