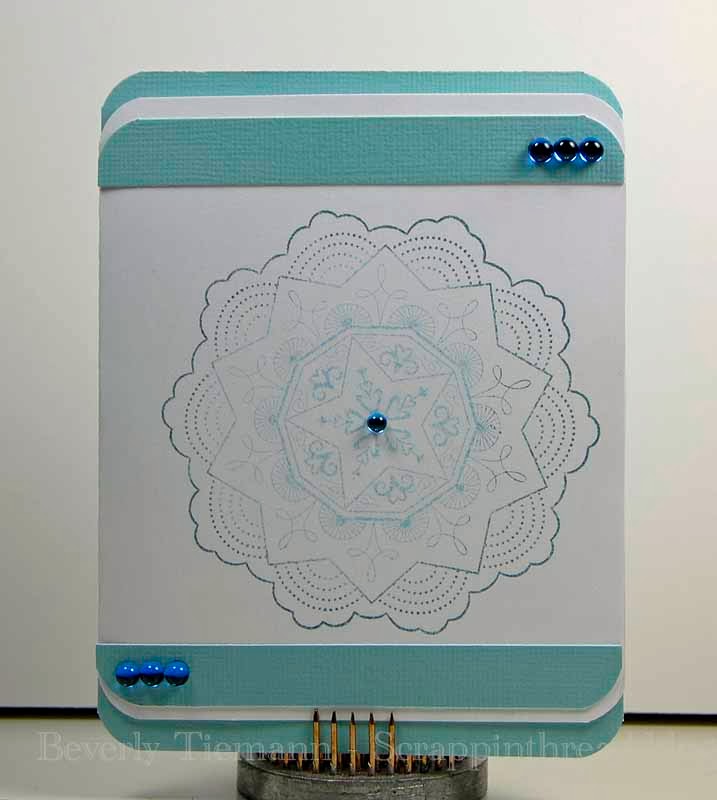
Mailable cards that don't require extra postage don't need to be plain. All of the cards in this post can be mailed in a standard A2 envelope with a regular First Class postage stamp. They are all made from a 12" by 5 1/2" piece of paper and scored at 2, 4, 8 and 10 inches. Patterned paper is layered on, but doesn't make the card bulky. If a lot of additional embellishments are added, then more postage may be necessary.
Belly bands can be slid on or closed with hook and loop tape. This one is adhered together and slides over the card to hold it closed for mailing. I like to use the decorative trim edge of the B & T paper for belly bands layered over cardstock.
 |
| Inside of card |
The stamped image above is also used as part of the belly band for the card below. It is part of the Give a Lift CTMH set. The inside section is 4" wide. Each of the two flaps on both sides are scored and each section is 2" wide.
Below is a card made with the new Picture My Life Scrapbooking program cards, which were leftover from an album that I made a couple of weeks ago.
This card doesn't have a belly band. The fussy cut image is adhered on one side of the fold to hold it closed.
 |
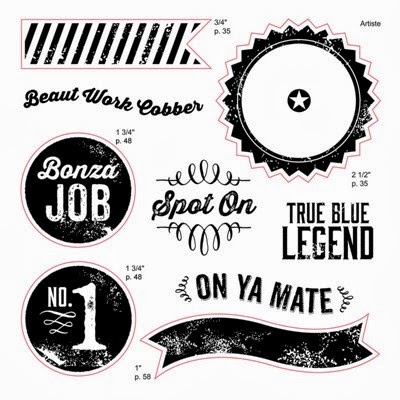
| Mustache cut with Cricut Artiste Cartridge |
It is fun to add die cut shapes to cards. The heart below was cut with the CTMH Cricut Artiste cartridge at 4 1/4". I then cut it in half and adhered each half on the front pieces. After affixing it to the front flaps of the card, I cut the flaps to the shape of the heart. Cupcakes, mittens, leaves and many other Artiste shapes would also work very well for a fun thematic front for the card.
 |
| Open Heart Shaped Gatefold Card |
Below, is another Artiste die cut. After cutting the butterfly I stamped it with a retired CTMH stamp.
The card pictured above has higher front flaps, measuring 3" high on the outside. The patterned paper covers the front flaps completely. Or a bit smaller pieces can be matted on the various flaps of the cards which gives the card a different look. There is no right or wrong.
The last card shows an alternative way to cut the front. The middle section was not cut down for the staggered look that was shown on the rest of the cards. The front was cut at an angle starting at 2 1/2" from the bottom of the card on the outside.
Thank you for making it all the way through this long post! By the end of the week, I hope to have a video tutorial posted showing the process for making these fun cards.
Beverly


