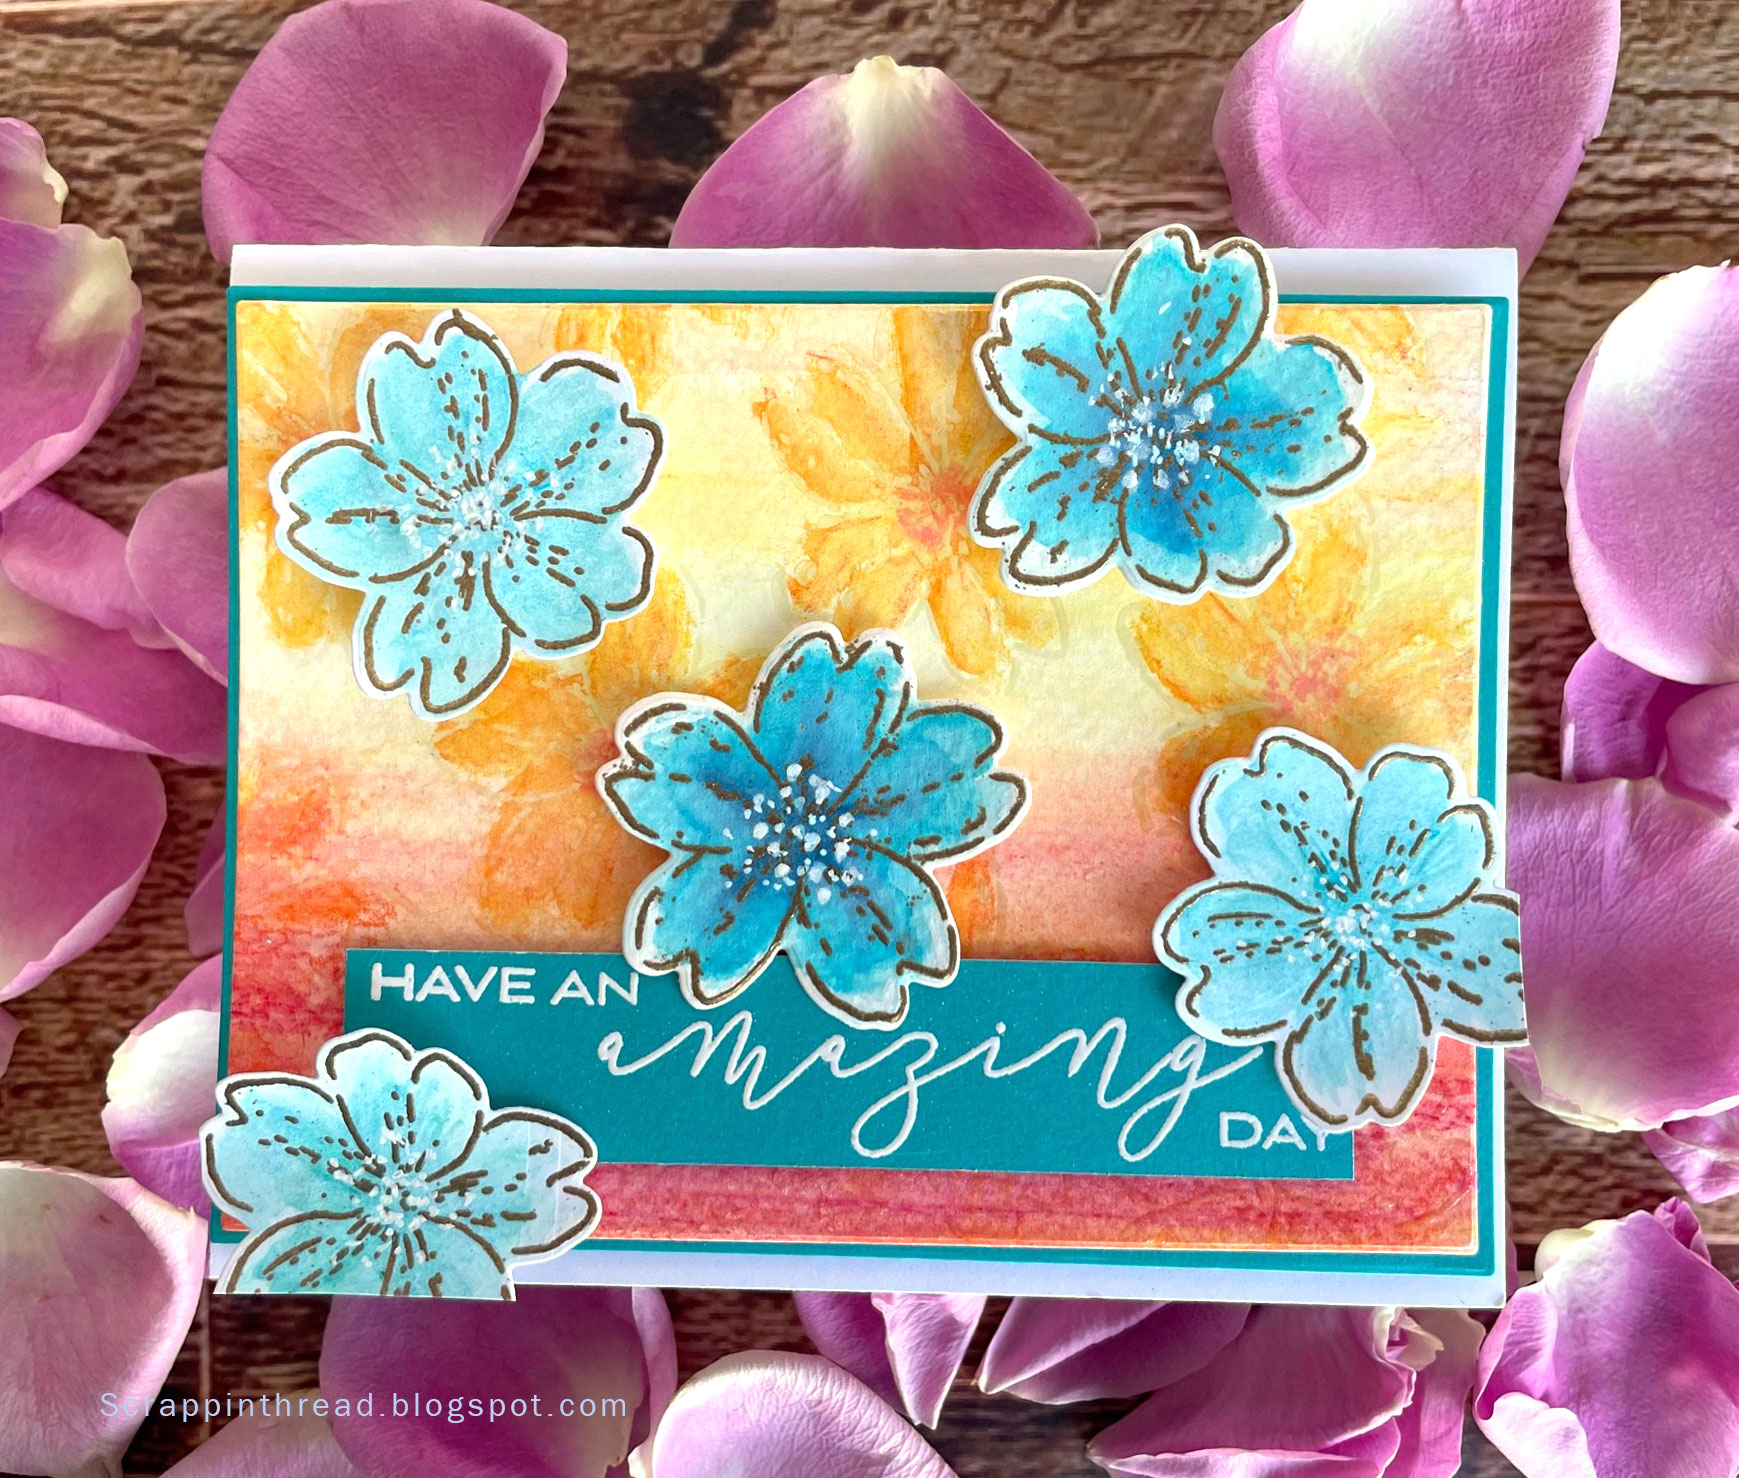
Paper and Fiber Arts


Welcome to my mixed media blog. Thanks for stopping by.
Showing posts with label Embossed. Show all posts

Saturday, June 3, 2023

Gender Neutral Cards - Several Techniques

Life has been busy! This past month I've been enjoying sunny weather, a bit of travel, and doing things out of doors. Because of that, I'm combining several cards and techniques into one post. Today's post has five different cards that do not really fit into a specific theme - other than they are part of the Altenew Educator Certification Program's Level 2 Challenge. The cards are supposed to be masculine, but gender-neutral is a better description. There are many photos because there are several techniques used on the cards.

This first card combines ink blending and masking. In order to get extra dimension, you can remove the mask and add an additional layer of ink. It is fun to mix different ink colors for intense backgrounds.

If your recipient is a clean and simple lover, stop here. The card looks nice this way, but adding the die-cut leaves as shown in the photo at the top of the post adds even more pizzaz. 

One of the easiest backgrounds to make for a card is to emboss or deboss a piece of cardstock. Or, as in the example above, a piece of mirrored cardstock. The depth and dimension achieved by such a simple technique are always impressive. This cardstock from, Spellbinders, embosses really well.

Altenew's Flowers and Leaves 3D Embossing Folder

Spellbinder's Mirror Cardstock is Two-sided

The frame and sentiment are from Spellbinder's Four Petal Collection. Layering the silver with black nets a classy look achieved with little effort. The same sentiment set is used on the "love you" kraft card, pictured below.


One of my favorite color combinations is kraft cardstock with white. The addition of vellum adds another layer without obscuring the stamping on the background. This card uses heat embossing for the stamped daisies, layering the die-cut sentiment, and using negative die-cut pieces from a cover die to create an interesting background. 

In order to have stamped/embossed images without little flakes of embossing powder all over, use an anti-static powder tool prior to stamping. This helps create a polished finished project. 


The flowers are from a retired set, Beloved Daisy. You can try this with many different stamps, though. When looking to heat emboss a stamped image, you want one that is defined enough to not need details added to the image afterward because it can be difficult to stamp onto the slick surface of the heated embossing powder. To increase the opacity of the white embossing powder, use white pigment ink instead of clear embossing ink. 

When my daughter saw this card, she said it reminded her of toasted marshmallows. I love that it conveys a warm, sweet, feeling. Plus, it was fun to get out the modeling paste and mix in some re-inker to create that very lightly colored marshmallow-looking texture. The bottom layer of the card is gold mirrored cardstock which adds an extra layer to tie in the warm colors of the inks and stenciled medium. 
Mega Love Die Cut Out of Marbled Background

After mixing a few drops of Pastel Sunrise re-inker into the Light Molding Paste Gel Medium, I used an old gift card to swipe it through the Grid Stencil. The stencil was turned 45 degrees so it would sit on the card on-point. Using light molding paste doesn't add much weight to the card yet it holds up very well, once dry. The corners of the background were ink blended with the Pastel Sunrise ink pad and whatever yellow ink was leftover on my ink blender sponge. The XOXO, from Sentiment Strips - Set 1, was stamped with Permanent Black Crisp Ink and also ink blended with the leftover yellow. For instructions on how to make the marbled glossy background, please visit here.

Mixed Media in Progress

There are a couple of things to keep in mind when working with gel mediums. One is that the drying time will be influenced by environmental factors. I don't like to dry molding paste with a heat tool because it seems more prone to cracking. When I lived in Arizona, things dried far faster than where I live now - which is in Portland, Oregon. Except in the summertime, when it is quite dry. Additionally, if you are going to color the medium, and consistency of color is important, try to make enough of the paste at one time. It is difficult to replicate an exact match. This isn't usually a problem because 'close enough' is usually good enough, but it will depend on your project and the effect you are after. Also, the best adhesive for adhering items to the dried paste is one that offers good adhesion without breaking down the textured surface. I find that iCraft Mixed Media Adhesive works well.


This last card uses the same grid stencil and Mega Love die cut from another marbled background. But because ink blending was used to make the background, it gave a very different look. To achieve the rainbow effect, I used pink, yellow, and blue ink and overlapped them to create secondary orange and green colors. This is super easy to do. Mixing colors on paper is a fast and effective way to achieve more interest when ink blending.

If making cards for others is something that brings you joy, I hope that you consider trying one of these techniques on your next project. Cheers.

THIS POST MAY CONTAIN AFFILIATE LINKS. BY CLICKING ON THEM AND PURCHASING PRODUCTS THROUGH MY LINKS, I RECEIVE A SMALL COMMISSION FOR THE REFERRAL. THE ITEM WILL NOT COST YOU ANY MORE BY GOING THROUGH THIS LINK.

Friday, May 5, 2023

10+ Cards Made with the Same Stamp/Die Set


Hello! This is a recap, with many pictures of the cards I created for Level 2 of the Altenew Educator Certification Program. My personal challenge was to use one stamp set for all ten courses. Here they are, and my shiny new badge which shows that I passed Level 1.


Original Post here


Original Post Here


Original Post Here

Original Post Here


Original Post Here


Original Post Here


Original Post Here


Original Post Here


Original Post Here


Original Post Here


Original Post Here

It always feels great to be able to use items several times over. It is very satisfying to stretch stamps and dies with different techniques. This makes the part of me that wants to be a mindful spender very happy.

Friday, February 17, 2023

Spellbinders and Altenew Fun With Florals Review


My version of  Yana Smakula's card

Online Cardmaking Retreat

Because I knew I would be very sad when my daughter returned to college in January, I booked lots of fun things to keep me busy. Many had to do with some retail therapy and crafting or sewing. The first fun activity/event was the collaborative paper crafting retreat with Spellbinders and Altenew. It was held this past weekend, virtually at Atlenew Academy. Beforehand, attendees received a fabulous kit with goodies from both manufacturers.
My version of Jennifer Rzasa's card

Ideas and Inspiration

The cards that are posted here were made from the materials and tools that were in the kit. The instructors presented the techniques and their color choices for each of the three top cards that are shown here. As with any class, the students can always do their own thing with any colors of their choosing. 

My version of Lydia Evans' card

Class Kit = Happy Mail  

This is where I went rogue and made cards with leftover materials and a 3D embossing folder from Spellbinders. The two cards posted below are very textural, yet were easy to make. The kit included paper, embossing folders, and dies from both Spellbinders and Altenew. It also had stamps, enamel dots, and stencils from Altenew. 
Even though I am an affiliate* with both of these companies, I purchased the kit at full price. It was a good value. Having enjoyable things to look forward to is important for me in dealing with a sense of loss at being an empty nester after having a child at home for over 30 years! 

Thank you for stopping by! 

* If you are curious about what "an affiliate" means, it is a program that allows bloggers, etc., to receive a small payment for referring customers to select businesses. There is no additional charge to the customer for any purchase made through the affiliate link.


Saturday, December 21, 2019

Last Minute Easy to Make Christmas Cards


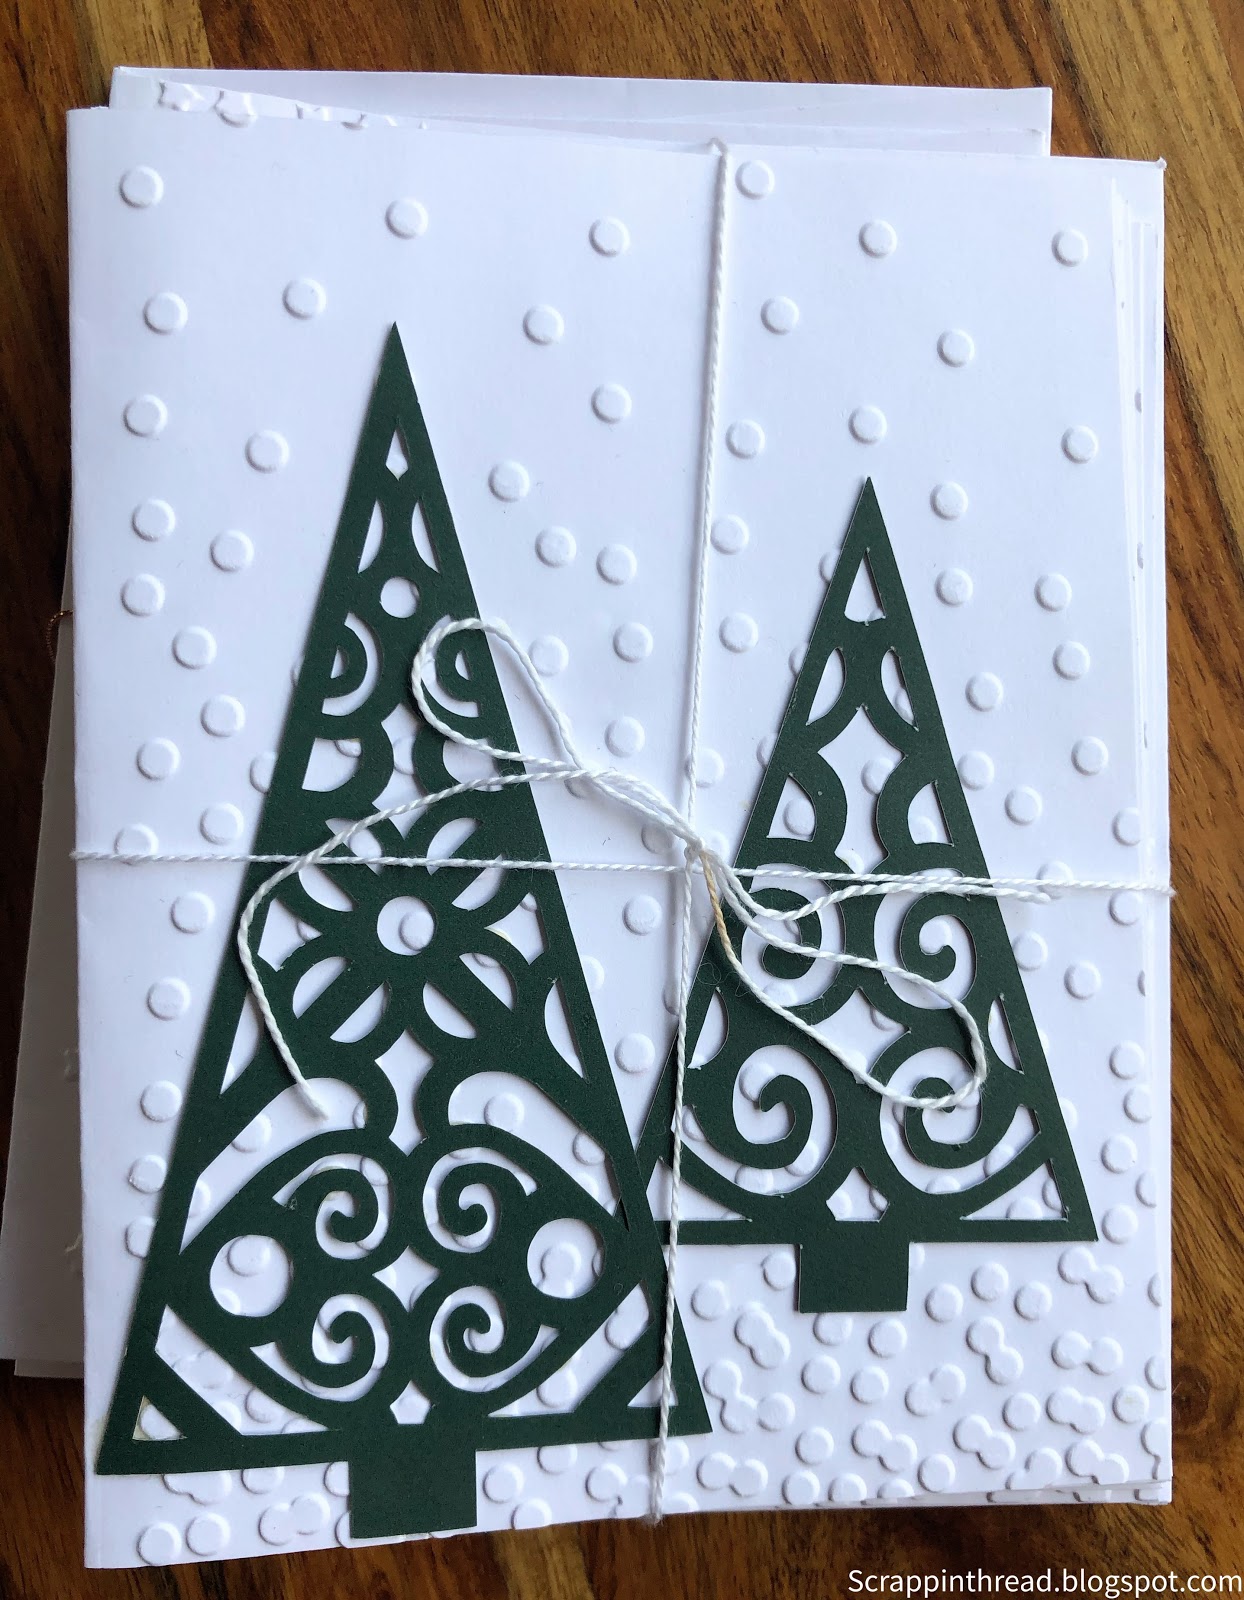
A stack of Christmas cards bundled for a gift to give to someone to send

This post may help if you are still trying to get a handmade card out in the mail for this holiday season. These are very quick, down-to-the-wire, last-minute, easy to make Christmas cards.

1st - Choose an embossing folder that works with whatever stamp or die-cut you are going to use

Another bundle of easy to make Christmas cards to give or sell 

2nd - Embossing a regular 4 1/4 x 5 1/2 card front.

Mailable card

3rd - Adhere a die-cut or stamped sentiment or image to the front. Write a greeting inside and sign the card.


4th - Address an envelope, affix a regular postage stamp and pop it in the mail.


Lastly, here is another quick craft project I made from a gingerbread house mold.  It is melted hard candy.

Pampered Chef Gingerbread Candy House

Monday, May 20, 2019

New Toys With Old Supplies - Altenew Radial Hearts Cover Die

Altenew Die Used to Emboss and Deboss Cardstock
The internet knows when I have been shopping. Every time I click on a news site or to enter the HGTV Dream House giveaway, there are advertisements for new and wonderful products that the internet thinks I should buy.  So I caved and bought some new toys. But, I am going to use them with old supplies.  That is how I sorta, kinda justified buying some Altenew and Lawn Fawn dies.


One of the things I discovered as I was playing with the new toys is that I could emboss and deboss the design for a really fun effect.  This is an added bonus to the intended purpose.  After embossing the pink shape, I cut a scalloped heart using Scrapbook.com's Umbrella Crafts nested die. The "Hello" was cut twice. Once with white cardstock and once on black with a double-sided adhesive so that glitter would stick to it. The card top is popped off the base with dimensional foam tape.
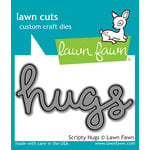
Pictured below are two cards side-by-side to illustrate the die cut versus the embossing/debossing.  The "hugs" card is a super simple card to make!  It is glitter paper cut with the cover die and layered on white cardstock. So pretty with almost no effort!

Altenew Radial Hearts Cover Die Used in Different Ways
 The tiny white hearts are leftovers from another card that I will post later this week. The "hugs" die is from Lawn Fawn. I cut it out twice using kraft and white cardstock to give it a little more depth.

Lawn Fawn "hugs" die cut twice and offset a wee bit
The red glitter paper is from my stash. It is awesome because it doesn't flake!  Glitter is one of those things that gets everywhere and is difficult to corral. This paper is nice because it didn't add to the mess and still has lots of shimmer and shine.

Thanks for stopping by today! I will have more projects made with this and other dies later this week.
Here is a list of supplies of currently available items if you are interested in going shopping, too!  There is no additional cost to you, they are listed here as a convenience.

Clear Double Sided Adhesive Roll - 4 Inch x 81 Feet - 1 Roll
Scrapbook.com
Sizzix has a newer version of the Vagabond. I use the old one. The new one has metal parts inside and will stop if you try to overload it.