Paper and Fiber Arts


Welcome to my mixed media blog. Thanks for stopping by.

Friday, October 14, 2011

Holiday Card Made With MS Spider Web Edge Punch For Trees

Image is from Close To My Heart's Christmas Love Set 
Even though it is mid-October, I'm already full swing into Christmas crafting!  I love Christmas!  The happiness that the holiday brings always makes me want to extend the season of joy for as long as possible.  Since I make stuff, it is easy to say I "Have" to get a jump start.  The truth is, I "Want" to get started as soon as the Fourth of July is over.  Weird, I know. No haters, please. :-)

Snowy Trees on a Peaceful Card
 Blue and white are two of my favorite color combinations.  They seemed perfect for what I was planning to do with the trees and branches.  The base of the trees is Outdoor Denim with Cocoa trunks.  The strips of paper for the branches are from the Believe B & T pack.  The layer immediately on top of the White Daisy card base is from the Wonderland paper pack.

Martha Stewart Spider Web Punch Around the Page  Edge Punch
I thought this punch made cool looking "branches" for pine trees.  I realize that there is a lot of creative license going on here and maybe it is delusional, but that is my story... and it does look branch-y to me.   After punching the strips of paper I smooshed the tips of the web/branches into White Daisy pigment ink and used white embossing powder to create "snow".  I did the same thing to the stars on the top of the tree.  They were  leftover scraps of Outdoor Denim before they became white stars.

Web - Branches are adhered at the tops of each strip so the bottoms stick out a bit

Supplies:
Stamps: CTMH Christmas Love
Paper: CTMH Believe, Wonderland, Sky, White Daisy, Cocoa, Outdoor Denim
Ink: CTMH White Daisy, Sky
Embellishments: Ribbon, Corsage pin colored and beaded by me
Tools: White embossing powder/heat gun, MS Spider Web Edge Punch, Emaginations Star Punch, Spellbinders Labels Four and Eight, foam tape

Thursday, October 13, 2011

Card With Christmas Tree Made From Martha Stewart Loops Edge Punch

Festive 5 x 7 Christmas Tree Card
If you have ever looked at my blog before you may have noticed that I have a thing for paper punches.  They do exactly what the manufacturer says they'll do - which is awesome enough! but sometimes you can stretch their use with alternate applications.  Well, that's what I'm talkin' about today.  :-)

MS Punch Around The Page Edge Punch Loops
The trees were made by first punching 12" long strips. They were adhered onto a Garden Green tree base and trimmed after each row. By the way, these trees are really just triangles with a brown piece of cardstock stuck to the bottom for a trunk.  This reminded me of my early elementary school days.  :-)  It was a lot of fun to make them!

Image from Close To My Heart's Christmas Love Stamp Set
The loops part of the strip is not adhered to the base, so they stick out to give a 3-dimensional aspect. The trees are popped off the page to add more dimension.

Supplies:
Stamps: CTMH Christmas Love
Paper: CTMH  Believe, White Daisy, Sweet Leaf, Topiary, Colonial White, Cranberry, Garden Green, Cocoa, (also, a retired B & T paper used for green loops)
Ink: CTMH Sweet Leaf
Embellishments: Ribbon and Sparkles from CTMH, Corsage pin colored and beaded by me
Tools: MS Loops Punch Around The Page, Emagination Star Punch, Spellbinders Labels Eight and Labels Four, foam tape, Fray Check

Wednesday, October 12, 2011

Operation Write Home Christmas Cards Group 1

CTMH Stamps and Papers


This is one of the batches of cards I've made for this year's Christmas deadline of October 31st.  If you would like more information about the work they do, please read below or check out their website.

Here is their Mission Statement from their website:
Our Mission:

Supporting our nation's armed forces by sending blank handmade greeting cards to write home on, as well as cards of gratitude to encourage them.

Thanks for stopping by today.  
Beverly

Tuesday, October 11, 2011

Clean and Simple Card - No Designer Paper


Here is a quick and easy masculine card. Every once in awhile there is a guy who needs thanking. I thought it might be a good idea to have a card on hand for that occasion. :-)   On second thought, maybe butterflies and bows are not very masculine after all?  Hmm.  Well, let us just call this a Fall Colors Thank You card then.

Supplies:
Cardstock: CTMH and SU!
Stamps: CTMH
Ink: CTMH Cocoa
Brad and Ribbon: CTMH
Diecut: Memory Box Butterfly Delights

Submitted to Mark's Finest Papers for Speedy the Cat's Friends Challenge #76--No Designer Paper

Monday, October 10, 2011

Frosted Designs Tuesday Card Sketch #3

Digital stamp printed on canvas

Seasons may come and go but true friends last forever.  That is the sentiment that is stamped with black Stazon on transparency film and positioned over the digital Apple Cider stamp on the card above.   This week, the Card Sketch Challenge from Frosted Designs is sponsored by Robyn's Fetish.

Card Sketch by Debbie Burns for Frosted Designs
 I was lucky enough to get to use their pretty Autumnal Apple Cider image.  It was a perfect opportunity to try some new-to-me techniques.  On the first card I colored with Copics on sticky-backed canvas.  The red marker ran, but I think that gives it a more country/vintage-y look, so I am ok with that. I love the versatility of the digital stamp design!  

Robyn's Fetish Apple Cider Digital Stamp
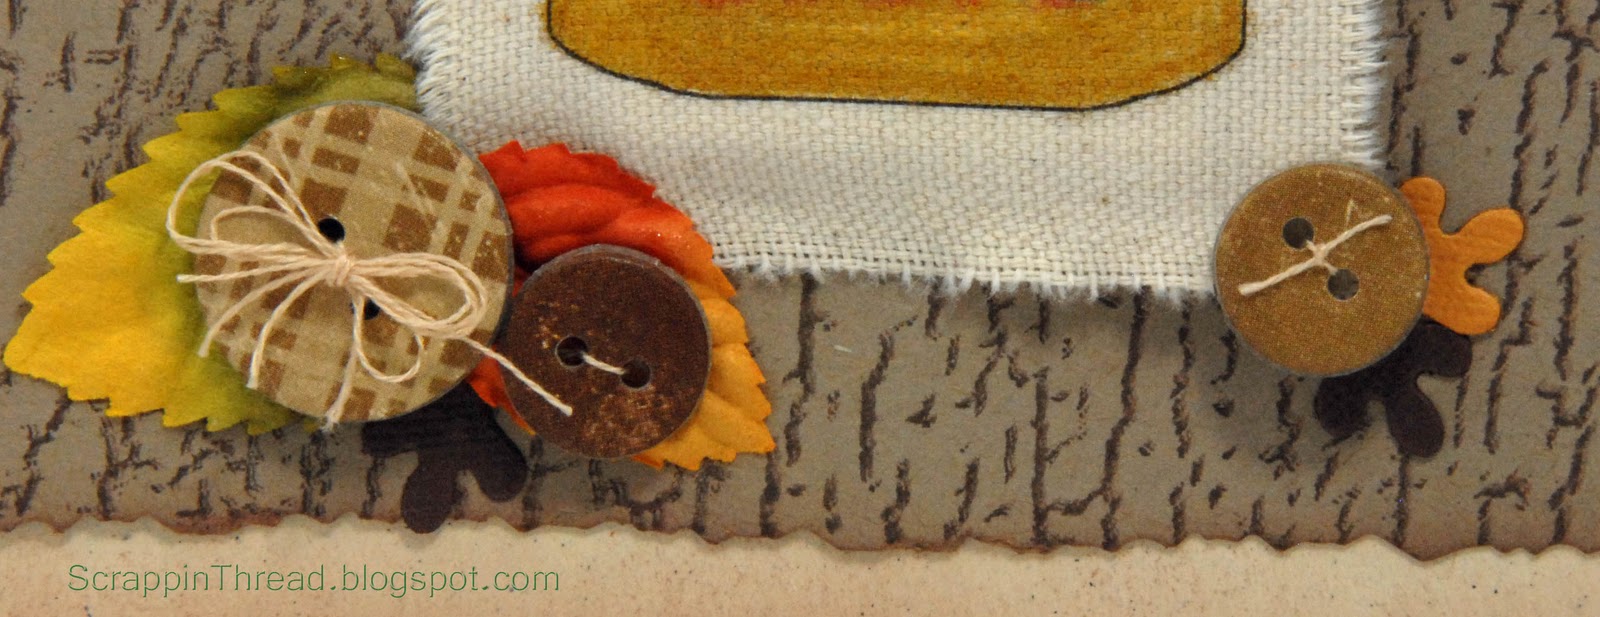
The twine was tied around the neck of the bottle after holes were punched in the canvas. The canvas was raised off the leaves and background image with foam tape.
CTMH Chipboard buttons
The second card also has a country vibe, but is a little more CAS (clean and simple) than the first.  Paper piecing in Photoshop was very simple to do. After selecting each section and the color that I wanted, I cut the main colored components out. These were then foam popped or glued down to the bottle which had been printed on kraft cardstock. The image had not been altered for the base layer.
Apple Cider Stamp Popped with Foam Tape
The brown textured cardstock was cut with a Spellbinders die and layered over an old background piece of paper with a twill ribbon underneath.  The canvas button is made from a very similar material to the twill. The punched red apple offers a nice pop of color on all the neutral tones.
Image is Digitally Paper Pieced

Supplies:

Digital Stamps: Robyn's Fetish
Sentiment Acrylix Stamps: CTMH
Background Rubber Stamp: SU!
Papers: CTMH, SU!, Claudine Hellmuth Sticky Back Canvas, transparency film, stash, HP Presentation Paper
Ink: Stazon
Copics: Y21, Y26, R24, E25, G24
Embellishments: CTMH  buttons, Dimensional buttons and Canvas button, SU! Twill Ribbon, Recollections Leaves, twine, thread 
Tools: Marvy apple punch, Spellbinders, foam tape 

Sunday, October 9, 2011

Making Placemats With Machine Embroidered Designs

Ruffled Placemat
My new sewing machine comes with quite a few built-in embroidery designs.  When I saw this one, I thought it would make really pretty placemats.  I still think that it would make really pretty placemats.  For someone who knows what they are doing! lol

The machine embroidering thing is something that I'm still trying to figure out.  I'm a quilter.  It is a different set of stuff to know. :-)  The good thing is, I'm learning a lot!

Stabilizer and Kona Cotton Fabric Waiting to be Hooped

The stabilizer I used was pretty stiff.  I thought that would give some structure to the finished placemat. As you can see from the back (below) it puckered around the stitching.  Maybe different stabilizer is the answer? I'm not sure. So I'll do some experimenting and hope that fixes the problem.

After stitching, the stabilizer was cut approximately 1/2" smaller than top of placemat
I measured the circumference of the oval to get a rough idea how much fabric I would need to make a ruffle for it.  There is a ruffler attachment for the machine that is really fun to use.  After making the ruffle, I attached it and then sewed on a black oval back to the placemat.  This is an easy project.  And a good learning experience!

Thursday, October 6, 2011

Frosted Designs Recipe Challenge

Graphic 45 The Magic of Oz There's No Place Like Home Paper
Today's project was made to play along with the Recipe Challenge at Frosted Designs.  I got this fun Wizard of Oz paper a few weeks ago and hadn't wanted to cut it up.  After giving myself a little pep talk about how I had vowed to not be a hoarder any longer - I made the first cut.  It was easy after that!

Heidi Swap Fuzzy Rub-on Transferred to Canvas and Black Chipboard
The Challenge instructions are to use at least four of the ingredients below:
1. The color yellow
2. Ribbon or lace
3. chipboard
4. flowers
5. misting or inks
6. buttons
7. stickers
8. rub ons

I used all of the ingredients except for stickers.

CTMH Barn Door CS Flower Made with  Sizzix Die

The base of the wall-hanging is black corrugated cardboard adhered to black chipboard. There are a few rub-ons scattered throughout the picture.

CTMH Mischief paper cut with an EK Success Edger Punch

The little key is glued to a Spellbinders die cut shape. I love how this turned out and it is hanging in our kitchen.

Thanks for stopping by today! 
Beverly

Monday, October 3, 2011

Scrapping / Craft Room Tour

Over the years I've acquired quite a few things relating to my hobbies.  It is always a challenge for me to find the balance between being able to see my things so that I use them and at the same time, having minimal clutter so that I am not distracted and can actually get some work done! lol

Here is a video tour of the home office that I share with my family.  I know that I am very fortunate to have my own dedicated work space.  I love being in the same room with them so that I don't feel isolated.  Whenever I come in here, it is a happy time for me.


Some of the companies from whom I've purchased items in the past are listed below.  I receive no compensation or recognition for listing these products.  They have been purchased over the past several years so the quality/materials may differ from when I bought them.

The pockets for the acrylic stamp sets: 4 pocket storage page  These hold CTMH stamp sets perfectly.

The wooden ribbon lazy susan: 3 dowel organizer

Cabinet under the homemade scraprack stamp organizer. I believe they are going to be retiring soon so they may not be taking any additional orders.  I bought mine about 6 years ago.

The cabinets under the Clip It Up and the paper cutter

The black office furniture came from JC Penney, the black work surface and shelves in the middle of the room came from Target and the white wall cabinets came from IKEA.  I wanted white desks and filing cabinets, but it was good that my dh voted for black.  He and the kids aren't ready for white work surfaces.  :-)

Thank you for visiting my blog today.  Please leave a comment if you have any questions.
Beverly

Sunday, October 2, 2011

Inspiration Showcase

12 x 12 Canvas Stamping Techniques
A couple of weeks ago I took an online class with Jennifer McGuire called Inspiration Showcase.  It was a lot of fun to create this canvas.  I felt like I was visiting old friends as she introduced technique after technique that I had long forgotten.  There were a few new techniques, as well.  For me, the main benefits of the class were to have a completed project to hang up as a reminder of these fun stamping techniques AND to be reintroduced to so many wonderful ways of working within this craft form.

The finished canvas is hanging on the wall kitty-corner from my stamping desk.  I feel so fortunate to have been able to take the class and even more fortunate to get to work on my paper-crafting almost every day.  Life is good!

Saturday, October 1, 2011

Ribbon Storage

Ribbon on a pant hanger up close
 It seems like I am always looking at different ways to store my scrapbooking/stamping stuff.  I've used so many different types of storage systems over the years and have finally realized that no One thing works perfectly for me.  All of the systems have pros and cons.  These are the things that I am currently using and they don't drive me crazy!  So I'm happy with them. :-)

I love the way the lazy Susan Ribbon organizer looks when it is tidy.
 The wooden organizer with dowels was inexpensive (from Oriental Trading, I think) but it drove me nuts to use because the ribbons came undone constantly,  I tried putting a little piece of tape on the ends of each ribbon to hold it in place. That worked ok until the ribbon had been used enough so that it was hard to reach into the spool to apply the tape.  Now I use tiny applique pins to keep the ribbon from unfurling.

It will take a lifetime to go through this much baker's twine!
The photo with the wooden ribbon organizer shows a jar with lots of ribbons rolled onto clothespins.  This system works well for smallish lengths of ribbon.  It looks pretty and is fairly easy to access the desired ribbon.  Sort of hidden behind that jar is the bakers twine and a hodgepodge/junk jar. The junk jar has scraps of ribbon and odd bits of other stuff.

5 Tier Hangers hung behind door

Cards hanging from clips on bottom of 5 tier hanger