Paper and Fiber Arts


Welcome to my mixed media blog. Thanks for stopping by.
Showing posts with label MS Punch. Show all posts

Thursday, July 10, 2014

Simple, Easy Card

CTMH Picture My Life Card  Layered On Card Base
I love quick projects.  And ones that use up leftover supplies are even better!  This card was made with scraps of cardstock, B & T paper, a piece of ribbon, a couple of leftover punched butterflies, and a Picture My Life Balloon Ride 4 x 6 card (from CTMH's pocket scrapbooking program.)  The sentiment is from the Give a Lift stamp set.  To complete the look, I used a couple of old Durables studs that are self-adhesive and inked the edges of the card and the rounded pieces of paper. It took less than 10 minutes to make.  Which is less time than it would have taken to file all of the scraps away!

Thank you for visiting!
Beverly

Wednesday, August 22, 2012

Clean Up My Desk Card #3 - Mailable Cards Week


Last week I mailed 8 cards at the post office. Because of my love of layering, 7 of the 8 needed extra postage.  Hence, the Mailable-Card-Week, self-challenge I am engaged in this week!  Cards can still be very nice without requiring more than regular postage. :-)

This card uses some leftover snowflakes cut using the Cricut, and one Martha Stewart punch.  They are adhered to a piece of black cardstock which has two strips of the new adhesive-backed, CTMH Silver Shimmer Trim running on the top and bottom.  This piece is on top of a Sky card base cut to the standard size, but it opens on the right hand side.

Thank you for visiting.
Beverly

Wednesday, August 8, 2012

La Belle Vie Baby

CTMH La Belle Vie B & T
When I saw this new paper, I thought of the picture above, taken about 22 years ago. Dark colors are not usually found on typical baby layouts.  But this is no typical baby.  She was a delight from the moment she arrived, but very pensive. A sweet and gentle girl, but a deep thinker with a strong sense of propriety. When she was about one and a half, she climbed down from her high chair to put herself in timeout because she said she was thinking something naughty. My mother used to say, "Eva has an old soul."
She has always had her own personality and her own style. She has gorgeous olive skin and dark soul-filled eyes. My other dd would not be able to carry the weight of this paper, but dear little Eva can. It suits her.  Sort of a Goth-baby type look.

Semi-Hidden Journaling Using Cricut Artiste Doily
The lace backdrop of the photograph lightens up the center of the page. The reverse side of the black patterned paper is the pretty pink/mauve patterned paper. I cut a 9" doily using the Accent 1 shape on page 31 of the CTMH Cricut Artiste Handbook.  I tucked the month and year under a couple of the openings with the La Belle Vie Mauve cardstock for a peek-a-boo effect.

Mixing Boutique and Bohemian Embellishments
The embellishments were from a few different collections. Pearls came from the Opaque Adhesive Gems and the Pearl Flourishes.  I placed a pearl on each of the rosettes on the Colonial White ribbon. The crocheted flower is from the Bohemian Assortment and the metal bow clip is from the Boutique Assortment.

CTMH Jardin Frame Stamped on Martha Stewart Clay
I flattened out some Martha Stewart air-dry clay and stamped the frame from the Jardin set in Chocolate ink.  It dried to almost the same shade of pink as the paper used for the doily!  What a great accident! If you want a certain color, it would probably be a good idea to make a small sample first.  Here is a quick video showing how to stamp on this type of clay:

  
The clay is sold at both Joann's and Michael's.

*edited to add a note about the Slate ink used in video -
It dried closer to it's true color, with a tinge of green around the edges.

Sewing Through Eyelets and Pearls Added to Rosette Ribbon
It was fun to incorporate a few peek-a-boo elements in the layout for a little whimsy.  In addition to the date, mentioned above, I placed cardstock cut with the Martha Stewart doily edger punch under the patterned paper.  I also set eyelets and sewed through them, tying a big knot.

Even though this paper would look stunning with wedding photos or used for a visit to an old, classic city, I like it for this baby layout, too.  Sometimes, pushing myself out of the 'norm' results in a mess!  But I think it worked this time. :-)

I hope you have a wonderful day!  Thank you for visiting!
Beverly


Saturday, July 7, 2012

Memento Versus Brilliance Ink With Copic Markers


Copic markers come in over 300 beautiful colors. They are versatile in their application techniques: Direct to paper, airbrush, refills for backgrounds, etc.  They are ethanol based and are safe to use on scrapbook layouts.  There are a wide variety of materials that they can be used on - porous and non-porous surfaces alike.  However, the types of papers and inks that they work best upon is the main question that most beginners have before they start exploring all of the other fabulous things you can do with them.

Today, I wanted to show how two of the inks that are recommended by Copic compare with each other.  Why would you prefer one to the other and do you need both?   This is my personal opinion and not endorsed by Copic, by the way. :-)

Heavenly White Ultrasmooth #120 Cardstock
Assessing what kinds of images you use may be the biggest determining factor in what type of ink you prefer.  The images posted above were made from a very fine line acrylic stamp set. If your images are more dense or have a bulkier presence, than either ink will stamp equally well for you.  Your area of interest may then just be whether the ink will hold up to coloring with Copic markers and whether heat setting your images is something you want to do.

As you can see, the Memento ink, on the left, gave a thicker and darker impression than the Brilliance.  There is more observable detail with the Brilliance ink.  Memento is fast drying, but you do want to make sure it is dry before coloring.  Give the ink a chance to be absorbed by the paper.  Brilliance, on the other hand, requires heat setting. If you plan ahead, you can stamp your images in advance and let them dry overnight with comparable results.

Copics R81, R83, and Y15
 The flower on the left was colored by crossing over the black ink with the marker.  I was very careful to not use the light pink (R81) on the stamped ink on the right.  There was no bleeding on either of the images.  The photo below shows those same flowers plus a smaller flower that had been colored at full size and cut down.  This one was stamped with the Brilliance ink and heat set at the same time as the others. However, you will notice that the black ink smeared and bled and really doesn't look very nice in comparison to the other two.  The only difference was that I colored over the black stamped image with the R81 marker.  Is this typical, you may wonder?  I do not know. It happens to me frequently, though!  Your climate may play a part in how much moisture is in your paper.  How old the paper is can also affect the results because of moisture content.

So, because I have experienced this on more than one occasion, I usually do not color Over stamped lines.  Yes, it takes longer.  But so does starting over. :-)

You may wonder why I used the image anyway since I was clearly not happy with it?  Because I wanted to show that even though it was messed up, it was still salvageable.  By cutting the image smaller, it gave it less importance.  Also, by having a lot of texture on the card, the eye doesn't stop too long at that spot.

Spica Pens (Set B) Provide a Little Glitz To the Flowers

So do you need both inks?  Only you know the answer to that!  :-)  However, I hope that this has provided you with enough information to know whether or not you want to try these inks, if you haven't already.

Tomorrow's post is also about Copic Markers.  It involves some inks that are on the 'not recommended' list. Please stop by and see the results of my little experiment with eight inks and Copic markers.

Thank you for visiting today!
Beverly

The additional supplies used on the card are as follows:
Stamps: Flower and leaves are from the CTMH Card Word Puzzle set 
  Sentiment is from the CTMH Say It In Style set
Cardstock: Card base and sentiment tag are CTMH White Daisy
  CTMH Baby Pink punched with Martha Stewart Doily Lace edge punch
Velvet paper (from my stash) embossed with script folder from Hobby Lobby's in-house brand
Gingham pattern paper: Making Memories
Butterflies were made with Martha Stewart mold and clay, white one was painted with Create-a-Shade
Lace: Martha Stewart
Polka Dot Ribbon: CTMH (retired)


Sunday, May 27, 2012

Sympathy Cards

 First, let me say "Thank You" to all of the past and present members of our military and to their families for your service to our country.  Memorial Day is tomorrow, but I think of your sacrifices everyday.  Many years ago, I had the honor of teaching elementary school in a district that had a large military population.  It was a learning opportunity for me because I had not known any military families before then. It was humbling to see, first hand, the commitment and dedication these brave women and men exhibited before, during and after September 11, 2001. Thank you for keeping freedom, free.

On this weekend, I thought I would share some sympathy cards.  I prefer to have some of these made up before they are needed because I do not much feel like creating them when the time comes to send one.
Martha Stewart Double Arches Punch Around the Page Layers
 This card is a 6" square.  Both layers of paper on top of the base were cut with MS punches.  The top white cardstock layer was spritzed with Cappuccino Perfect Pearls and stamped with a CTMH stamp.  The cameo is a button from Joann's.  I decided to frame the inside layer with the black May Arts ribbon because it seemed very 'busy' without it.
Personal Stamp Exchange Lily Stamp
 The second card was stamped and embossed in green ink.  I love PSX stamps because of their fine detail.  Unfortunately, they went out of business a few years ago. The card is layered on a dark green base and embellished with CTMH pearls and a piece of lace from my stash.
Masculine Sympathy Card
 The last card is layers of linen and cardstock.  On top of the textured cardstock base I adhered a piece of linen fabric wrapped with a piece of baker's twine. I wanted to keep this card very simple and only added a few black pearls to the focal point sentiment.  The embossed piece of white cardstock made a nice backdrop for the linen with the stamped image. This was done on a piece cut with a Spellbinders die and inked around the edges.

Lots of Texture 
Thank you for stopping by today.  I wish you a peaceful holiday weekend.  Please thank a Veteran when you can.

Beverly

Friday, May 18, 2012

Meeting a New Cousin in 1993

12 x 12 Layout
 My eldest sister gave birth to her daughter when my dd was a little over 3 years old.  These pictures are from our first visit to see dear Samantha. It was so fun to see my dd being so loving and gentle with her baby cousin. Even though we live so far apart, my sister worked hard to make sure that the two of them saw my dd every year as they were growing up.


I wanted this layout to be special even though the quality of the pictures is less than optimal.  This is an example where the memory that is being commemorated rely's on the event, rather than the photos. Everything on this layout is from my stash. The background papers are probably from 2003 or 2004.  Some are from SU! and some from CTMH.  I am not sure what the brand is for the colored vellum, but I liked using it for matting. The lace and ribbon are at least a decade old.

Thank you for stopping by today!
Beverly

Friday, April 6, 2012

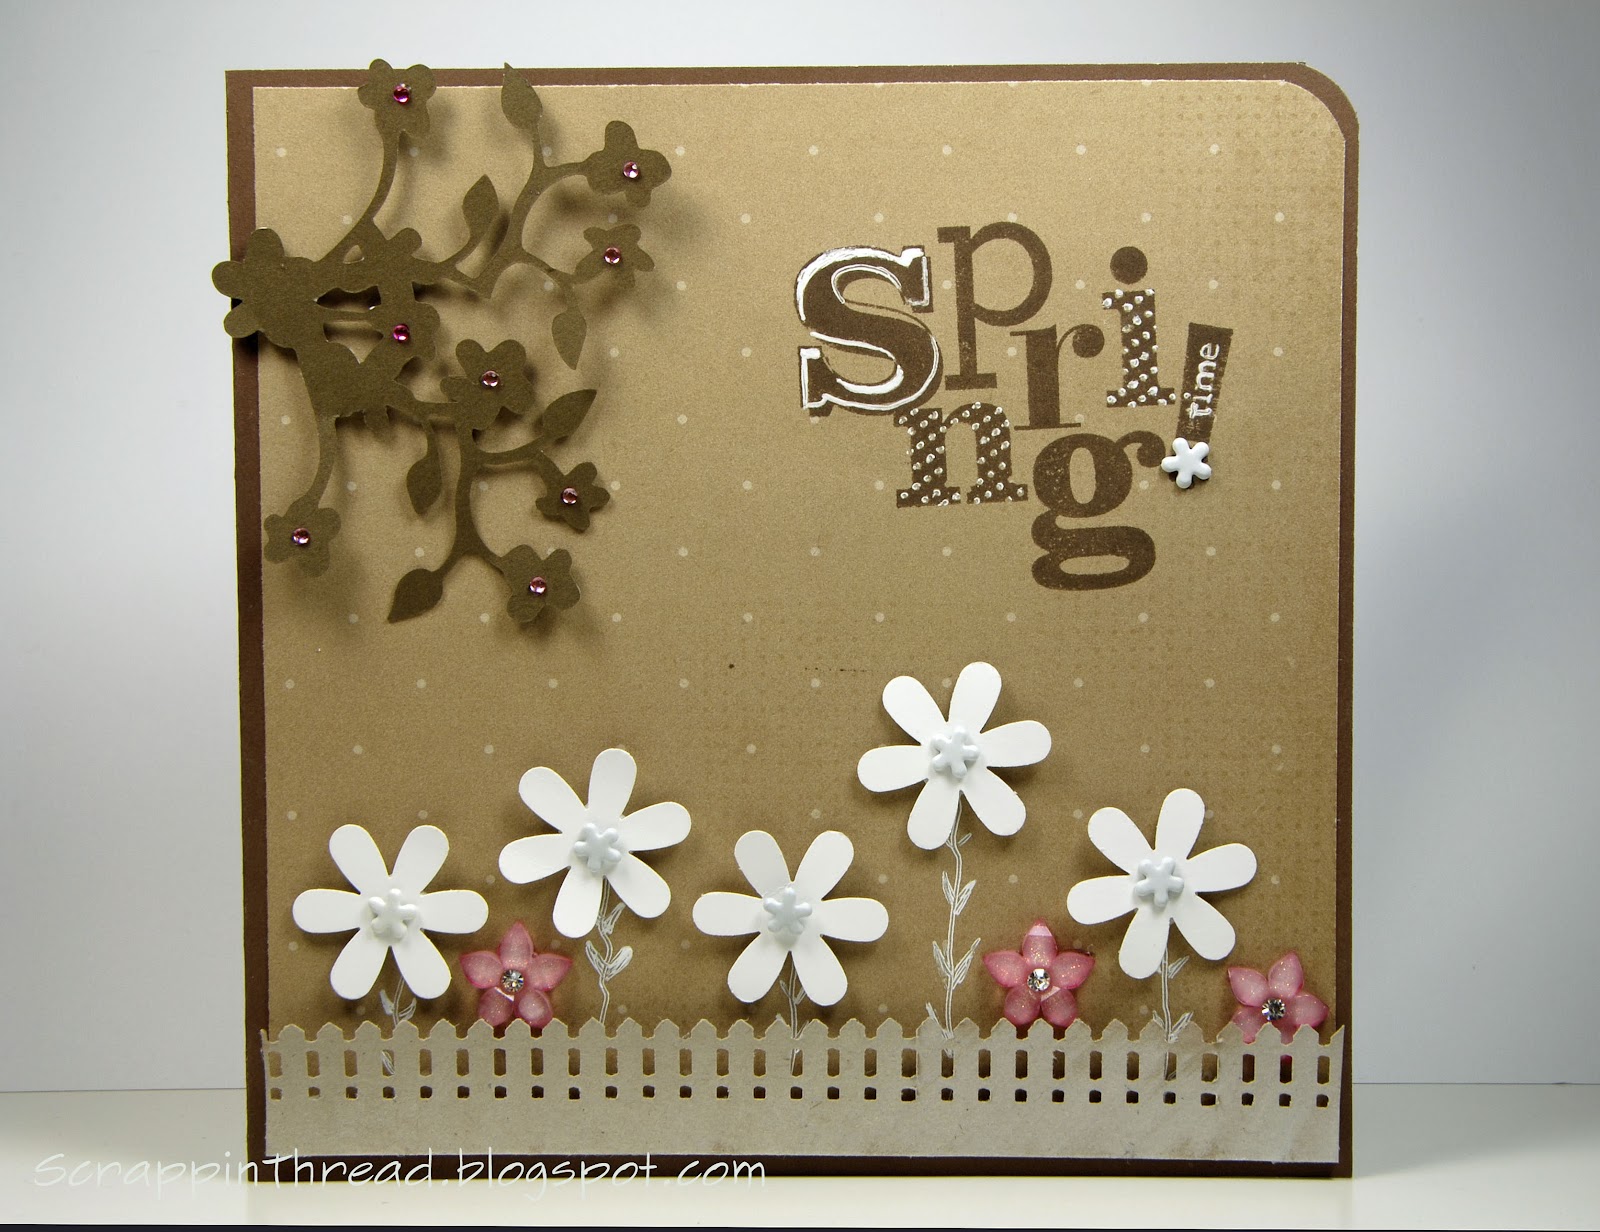
Happy Spring On A Brown Background


Picket Fence Cut With Edge Punch and Whitewashed with Tim Holtz Distressed Stain
Just a happy little card in browns, white and pink.  Have a Happy Easter Weekend!

Sunday, March 25, 2012

Making Paper Doilies With Punches

EK Success Corner Punch In Action
Create your own doilies for scrapbook layouts and cardmaking out of any paper in your stash!

Here is a tutorial video showing a variety of corner punches and the results of punching the same size circle with the various punches that are pictured below. The Martha Stewart Topiary Corner Punch is the one used for the instructional part of the video.


If you prefer written instructions, instead of videos, please scroll down to the bottom of the post to see some suggestions about this technique.

Posted below are the various Martha Stewart Punch Around the Page Corner Punches that I have used and their corresponding doilies:
Martha Stewart Double Arches

MS Doily Lace Corner Punch

MS Double Loops Corner Punch

MS Flower Shower Punch

MS Heart Chain Corner Punch

MS Loops Edge Corner Punch

MS Spider Web Punch Around The Page Corner Punch
MS Topiary Corner Punch

 I don't have the SU! Corner Punches posted here because I am uncertain of their names. I have had them for many years and do not know whether or not they are still available.  Please leave me a comment to let me know if you try this.  :-)  If you try this technique with any corner punches that are not posted here, I would love to see your results!

Here is an example of how I used the Spider Web doily.  The center of it was cut out using the MS Large Circle cutter after punching the shape around the perimeter of the circle.
From this:
Plain CTMH White Daisy Cardstock
To this:
Kraft Base, Black Painted Burlap, Spider Web Doily, Flip Flap to see Original Writing on Back of Photo 
There are more pictures of this layout here.

And here is the Loops Doily with the center removed:
Mister Huey Clay and Blue On Cutout Doily Shape
Original post for this layout is here.

Written instructions:
Flip the corner punch over to see where to line up the punch. The picture at the very top of the post shows the back side lined up near the edge of the paper. Punch around the edge of the circle slightly overlapping the previous punched area.  If your punching doesn't end up exactly matched up, you can place an embellishment at that spot. :-)
If you are mathematically inclined, you could measure the perimeter of the circle and figure out whether the punch is the correct size to end up exactly evenly given the circumference to punch size ratio.  Punches vary in size and everyone punches a little differently, so I have no specific guidelines for this.  Just a little observation though, the smaller the circle, the more noticeable a gap may be.

Thank you so much for stopping by today!
Beverly

Saturday, March 24, 2012

Halloween 1982 Layout With Black Painted Burlap

This layout is totally different then the kind I normally do.  First of all there are NO flowers!  Also, it is dark and there aren't many components to it.
Stamped Images on Punched Doily Circle
However, in person it really does look pretty cool.  There is a lot of texture - real and faux.
There is only one photograph on the page and I didn't want to permanently adhere it because I wanted to  be able to see my dear friend's silly message that she wrote on the back nearly 30 years ago! It can be flipped up as it is only attached at the top.

Photograph Mounted In CTMH Flip Flap for 4 x6 Pictures
I love Martha Stewart's Around the Page Punches and used the Spider Web corner one to make a large doily for this layout.  I cut out the center of the doily to frame the picture mounted on black mulberry paper and the black painted burlap underneath.
CTMH Felt Bird From Midnight Shapes
The burlap came from JoAnn's.  I painted it with acrylic paint which helped to stiffen it a bit.  To adhere it to the page and to adhere things to it, I used a combination of CTMH Liquid Glass and the ATG tape runner.

12 x 12 Halloween Layout
Both the White Daisy doily and the CTMH Kraft paper base were spritzed with Studio Calico's Mister Huey's Classic Calico color.  All papers are from Close to My Heart.  The twine came from Hobby Lobby.

Thank you so much for visiting!
Beverly

Wednesday, March 21, 2012

Sisters

My sisters live about 1,800 miles away from where I live so we don't see each other very often.  They visit each other more frequently because they are about 300 miles apart.  I am always happy to hear about their visits with each other, but am sorry to not be able to spend more time with them. It is important to me to scrapbook the few photos I have of us together so that I can remember those precious times.

The picture in this layout was taken before my little sister (now 44 years old) was born.  My dad took this picture of my two older sisters and I in the courtyard of married student housing where we lived. I love it because it shows us getting along!
Sewing around the tag pocket
Blue is one of my favorite colors.  It seemed like it would work nicely with the old black and white photo.  Before using this original photo, I scanned it for my digital files.  I decided to go ahead and scrap it - damaged as it was, because if I wait to learn how to repair old photos in Photoshop, it will probably never get scrapped.

12 x 12 Layout with a 10 1/2" Doily Punched with MS Loops Corner Punch 
Papers are all CTMH.  The fibers and trims are retired from CTMH, except for the white baker's twine, which is a current product.  The other ribbons are from May Arts. "Smile" is from Heidi Swapp.  Cork star colored with Moonstruck marker - both CTMH.  The small doily was purchased in the cake decorating section of Hobby Lobby.  The crochet butterfly is a Martha Stewart sticker.

The large circular shape was a 10 3/4" white circle cut with a punch to make a doily.  I then removed about an 8 inch circle in the center. This was then spritzed with Studio Calico's Mister Huey Clay and Bonny Blue.  I wanted to have a 'damaged' look to the large circle to match the damaged photograph.  Weird, maybe, but that is how my mind works. :-)

On Sunday, I will have a tutorial posted on my blog showing how to make punched doilies.

Thank you for visiting today!  
Hugs, 
Beverly

Sunday, March 11, 2012

A Tree Sewn With Smoothie Baker's Twine


Hello Blogger Friends!  Today, I wanted to share with you a clean and simple looking card that uses only three colors: Sky, Smoothie and Black.  I love the color combination and hope that the pictures show the striking contrast that is apparent in real life!
Baker's Twine Sewn on to Cardstock
Supplies:
Paper: CTMH Sky, Smoothie, Black
Ink: CTMH Archival Black, Black
Stamps: CTMH A Tree, Martha Stewart 3 in 1 Butterfly Punch/Stamp
Embellishments: CTMH Smoothie Baker's Twine from Paradise Assortment, MS Punch, CTMH Glitz Glitter Gel

Saturday, March 10, 2012

Shabby Chic Layout / Painting With Reinkers To Create Vintage-Like Weathered Papers

Edited on 6/21/2012 - Reposted after having been removed for publication. 
12 x 12 Painting/Painted Layout
 As time goes by, I find myself becoming more eclectic in my tastes.  Somedays I am in a clean and simple (CAS) mood and others.... well, it is good the kitchen sink is bolted in - otherwise with my "more is more" attitude, anything is fair game. :-)
This layout uses a lot of stuff.  The hardest part for me is to commit to using up my stuff.  Hoarder, maybe?  For some reason it is easier for me to use plain cardstock and pretty it up rather than use a lot of patterned paper.  Here is how I transformed the Twilight cardstock, and to a lesser extent the Colonial White cardstock, into the gussied up paper in the layout.
"Altered" Cardstock used for  Flowers and Labels
 There are different types of reinkers.  The kind I used to 'paint' the cardstock is a pigment ink.  This is thicker than dye ink and needs to have a long drying time or can be heat set with a heat gun.
CTMH Colonial White Pigment Reinker on Twilight Cardstock
 After applying a small amount of ink to the cs, sponge it around and smooth it out with the sponge as you go.
Adding a faux texture to the cardstock with reinker
 The paper does not having any bumps, it just looks like it has some texture to it.  Sort of like a suede look.  After heat setting it or allowing it to dry a LONG time, it can be stamped or distressed in a multitude of other ways.  I used background stamps and other single image stamps to create a background-effect.  Some were stamped with 2nd and 3rd generation stamping to give a progressively more subtle effect.
Original Twilight CS and Altered CS to Show Contrast in Coloring
 Several of the pieces I decided to cut with the Cricut and then further alter the individual pieces once they had been cut.  The larger piece pictured above is the mat for the photo in the layout.  It was adhered under a piece of Colonial White cardstock that was ink distressed and edge distressed after using a border bunch on one side and cutting a circle from the center. Then it was spritzed with a little bit of Mister Huey's Color Mist.
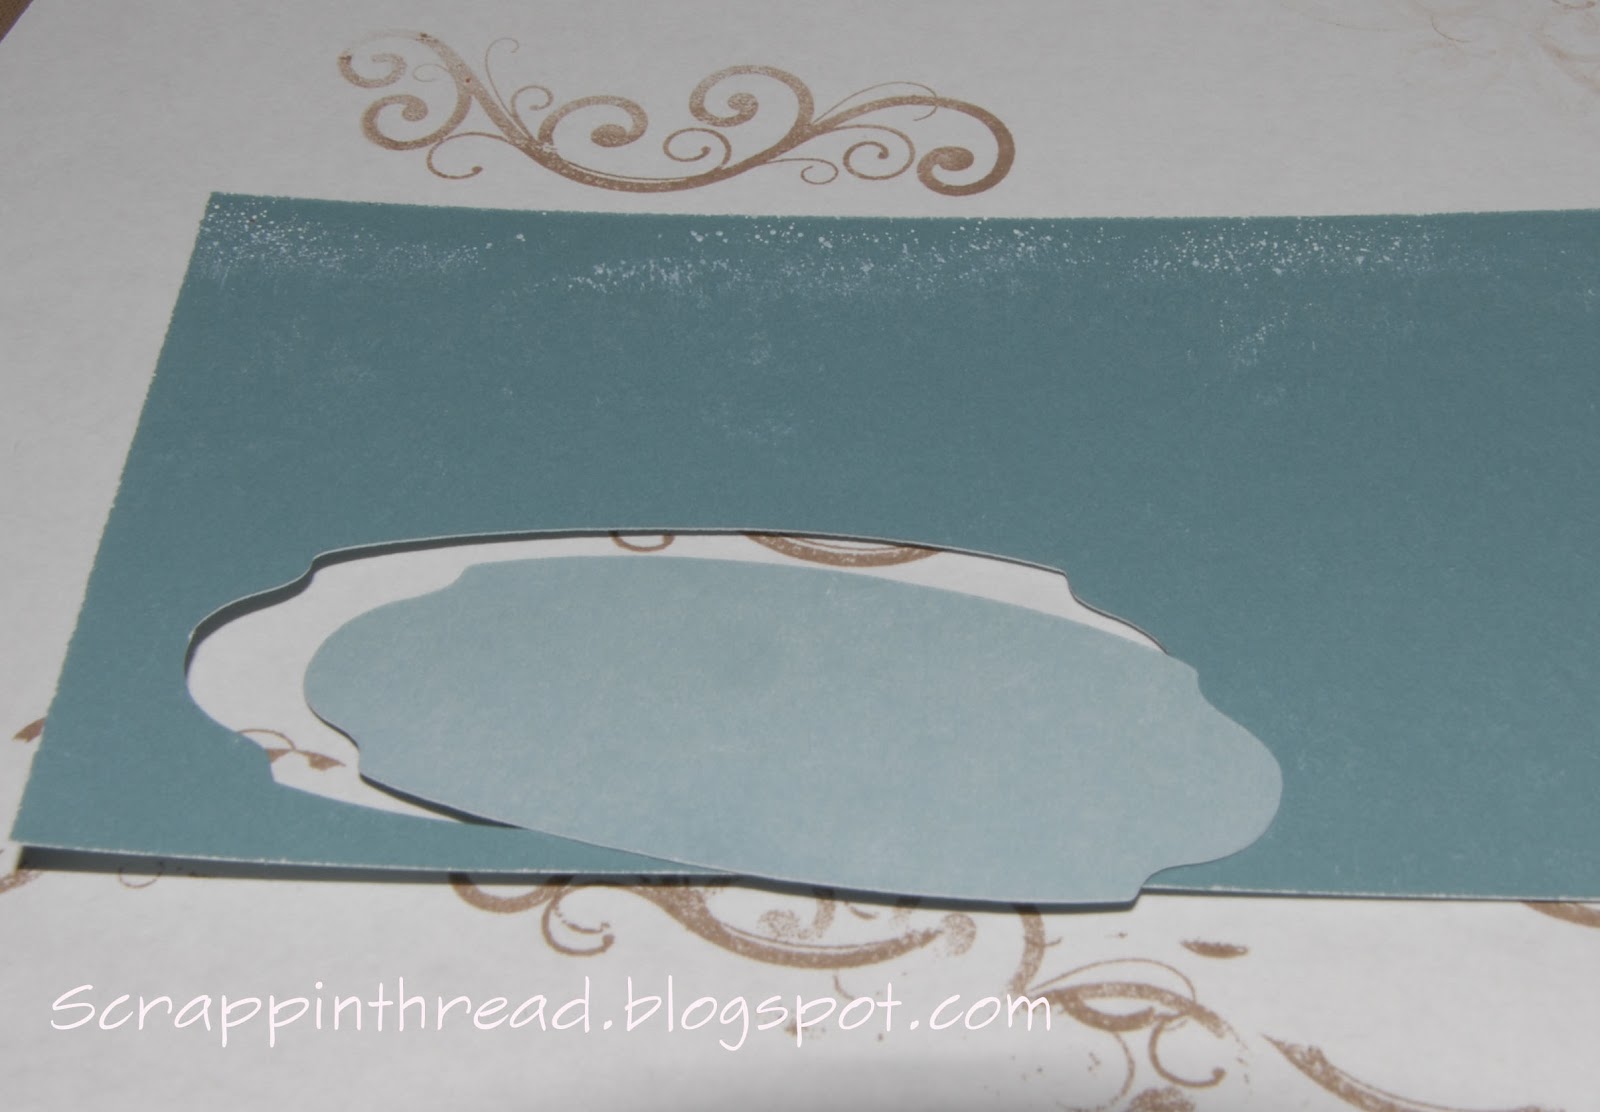
Art Philosophy Cricut Label Cut Out After Ink Painted
 The picture above shows the back of the cardstock along with the front of the painted piece after it was cut.  The inking did not cause any problems with getting a good, sharp cut with the Cricut.
CTMH Chocolate Ink with AE Stamp Used on "Painted" Label Layered on top of Linen Fabric
 The great thing about this technique is that you can continue to add ink through sponging, stamping or direct to paper as much as you like.  It is a forgiving type of inky fun. More is ok in this type of creating!
Retired CTMH B & T Paper for Journaling Tag and Base
 The photograph that I used is an original picture of me from (I believe) 1966.  I love this picture because it shows me intent on painting.  It reminds me of how I am now when I am working on projects.  I also love it because my dad took it and I don't have very many things that connect me to him.  Now that I have written that, I think I'll add that to a little hidden journaling under the Bo Bunny diecut journal paper, which is immediately under the photo.
Happy Painting!
Supplies:
Paper: Cardstock and B & T are all CTMH, Bo Bunny Noteworth Journal Diecut
Stamps: CTMH - Potential March 2012 SOTM, Universal Backgrounds, The Best Things. Ali Edwards - Favorite Memories
Ink: CTMH - Colonial White Pigment, (and reinker) Chocolate, Twilight, Bamboo, White Daisy Pigment
Embellishments:  Linen fabric,Mulberry Paper, Prima Wood Tickets, Making Memories off white flower, (in right hand corner) May Arts ribbon,  All other items are from Close to My Heart - Bitty Buds Assortment, Flutter Paper Shape, Foundry Binder Clip, Durables Round Pewter Studs, Sparkles Flourish, Sparkles, some Sparkles and retired hat pin colored with Copic Markers, Kraft Border
Supplies: Sewing Machine and thread, EK Success Scrolls and Dots Edge Punch, MS Doily Lace Edge Punch, Mister Huey's Classic Calico and Bonny Blue

Thanks for visiting and making it through such a long post!
Have an amazing day!
Hugs,
Beverly