Paper and Fiber Arts


Welcome to my mixed media blog. Thanks for stopping by.

Monday, May 16, 2022

Cat Hand Tree Collage Quilt


 You may be saying, "What in the world is a Cat Hand Tree Collage Quilt?" or possibly, "Why would anyone want one?"  I wanted to make an original collage quilt. It started as a tree. I feel like there is some powerful symbolism in hands and like to incorporate them in my work when I can. And, I have a lot of cat fabrics. And that is the shortish answer to those questions.

Emerson As A Pillow

Many years ago, I took a collage quilt class with Laura Heine and made a very cute puppy, named Emerson. Her use of bright colors fused together makes for a happy project. The pattern is available through her website, here.  It was patterned as a wall hanging but I turned mine into a pillow and see it every day, as he sits on the mudroom bench. 

Tree Collage Quilt

Using the collage technique, that I sort of remembered from the class, I drew a tree-like shape and then searched for fabrics in my stash to cut up. Rainbow colors are always fun to use and ROY G BIV placement is usually successful.  

Some help

My cat routinely tries to supervise. Does it look like there is a halo over his head? He is not as angelic as he appears and, in fact, moved some of the pieces around when flicking his tail.

Cat Tree Collage Quilt


For my first attempt at an original collage design, I am not unhappy with it. 

Thanks for stopping by today!


Saturday, May 14, 2022

Easy Quilts That Go Together Quickly

Easy Quilts from Simple Blocks

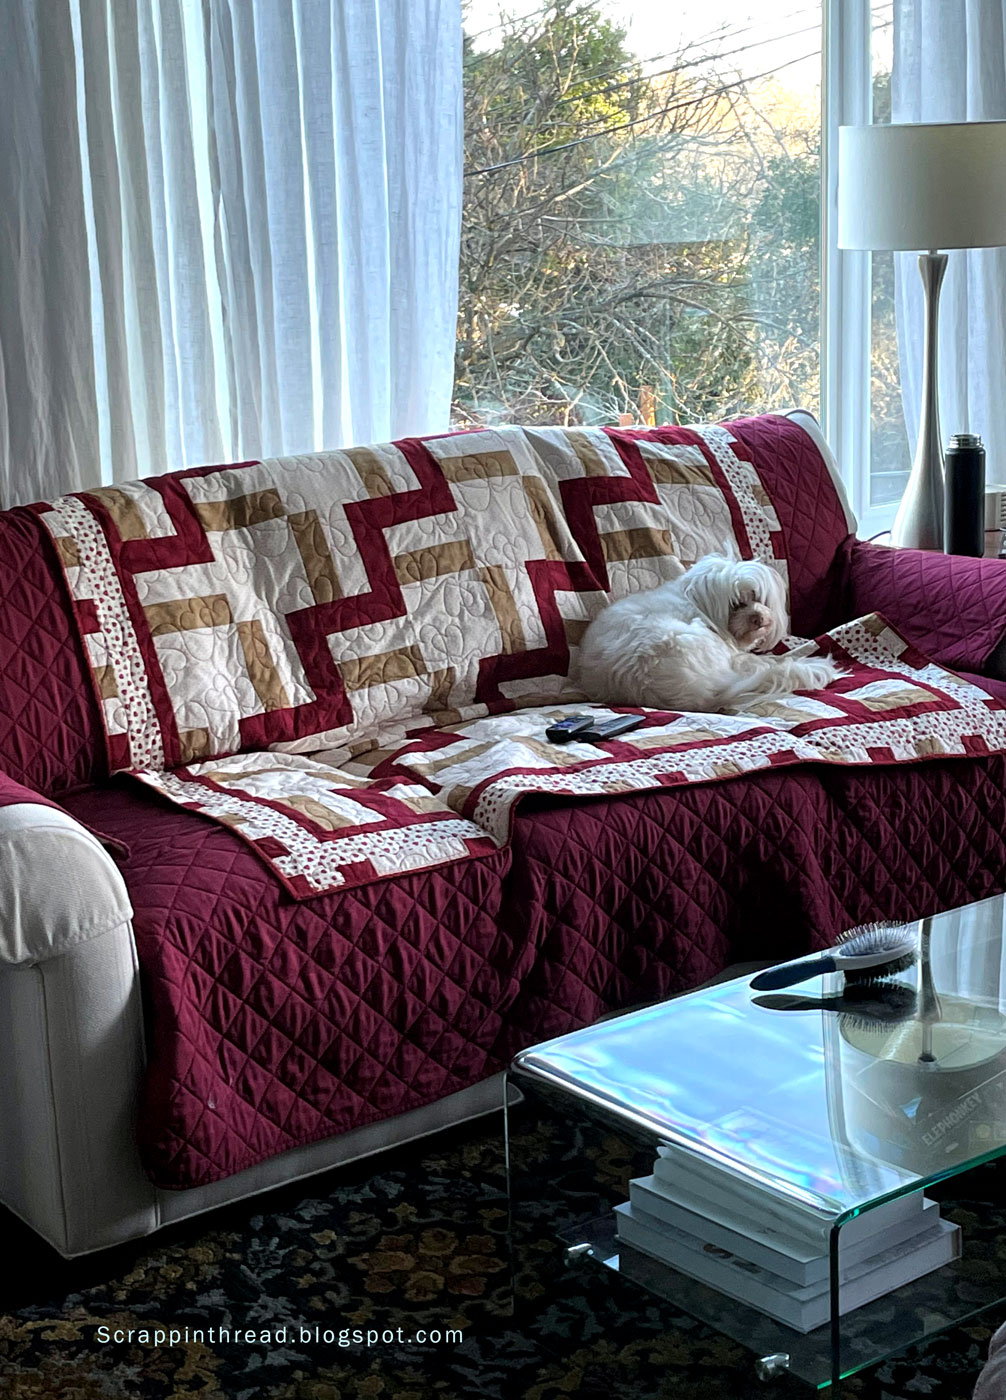
Quilts made with straight seams and not too many pieces sew up easily and quickly. This little roundup of some quilts that were (finally!) finished this winter fit into that favored category of Easy Quilts. And also my favorite: Ones that go together quickly!  The two red and cream-colored quilts were started many, many years ago. I was determined to finish some UFO's this past year and these two landed at the top of the list.  And once they were done, I wondered why I hadn't finished them before? It only took a few hours to sew them up and a few more hours to quilt them. 

Rail Fence and Disappearing 9-Patch Blocks

Most of the blocks were Rail Fence blocks. Some were Disappearing 9-Patches. The pictures below show a variation of a Disappearing 9-Patch. There are a lot of different ways to cut and reshuffle the cut pieces to make a new block. This is just one way.

Sew a 9-Patch Block and cut it apart
The 9-patch block shown above is sewn with two squares made up of three rectangles. The other blocks are all the same size. The 9-Patch is then cut in half horizontally and vertically. Flip the squares around to achieve a new design.  There are many variations. After choosing a variation, sew the squares back together to make a Disappearing 9-Patch block.
Disappearing 9-Patch Block


How to make a quilt larger if you run out of blocks

I added some borders to make the centers a little bigger and voila! They were done. It was a stroke of luck that I had some of the older fabric to mix in with a bit of newish fabric to complete the tops. One quilt went to my toddler granddaughter for her daycare cot and the other was thrown on the back of the couch for the dog to lay on.


Tips for Designing Quick Quilts

  • Use a large block size
  • Use one primary main or background color that contrasts with the alternate color(s)
  • Make wide borders
  • Limit the number of block styles, having all of the blocks be the same means fewer decisions along the way
  • Choose easy to sew blocks with few seams
  • Simple cutting
  • Fill in with blocks of fabric that are not pieced

Easier Quilts from Half-Square Triangles

The quilt below was designed in EQ8 for my nephew. I wanted to use my Accuquilt cutter to cut things very quickly. I chose an HST that finishes at 6" for this quilt. There is one die for the GO! and two dies for the Studio cutter. The Studio 2 can cut more layers and has a number of dies that cut multiple shapes at a time. This is the best time-saver of all! 
EQ8 Designed Quilt

After drawing the twin-sized quilt in EQ8, I pulled fabrics and cut them with my Accuquilt dies. I used strip cutters for the borders and also for the 6" (finished) squares. It really was fast! 
Using a design board made from a foam insulation sheet covered in fabric, I arranged the sewn HSTs and the square blocks. My design wall is in a hallway in the basement. It is not very well lit and it is difficult to stand very far back. However, it works well enough to get a pretty good idea as to how the fabrics will work when placed prior to sewing.


Never underestimate the impact of the quilting

After completing the top, I quilted a geometric maze-like design on the quilt. I love how it makes the quilt crinkly when washed and dried. The pictures below were taken outside and the blue color isn't true. The blue is somewhere between the bright blue below and the drab blue above.


Finally, I made an embroidered quilt label with laundering instructions. He was given the quilt when he visited for the Holidays to take back home and it seemed like a good idea to let him know how to care for it. 

Quilt Label With Laundering Instructions

Do You EQ?

And just for fun, here is a comparison of the quilts. The one on the left was drawn with Electric Quilt 8 software and the one on the right is the completed quilt.

Do You EQ? Quilts

Thank you for stopping by today!


Friday, October 22, 2021

Pinkfresh Studio - Daisy Wreath and Slimline Cards


Pinkfresh Studio Layering Slimline Frame Stencil


Layering Stencils

Getting the most use out of your supplies

Pinkfresh Studio has some gorgeous layering stencils. Recently, I used the Daisy Wreath and the Daisy Slimline Frame stencils and die-cuts to make cards that will fit into regular business-sized envelopes. These cards measure 9" by 4". The first two can be mailed with standard postage. The last card is popped up quite a bit and may require additional postage.


It is ok to cut up the image and use pieces of the design

The second and third cards have both the slimline frame and the wreath used on them. However, I cut apart the wreath after completing the five-step inking process. I ended up using both halves on the 'Smile' card and made two wreaths for the last card. By cutting the wreath up, it added some additional softness with the flow of the flowers.
Layered Diecut Sentiment with Mini Slimline Panel


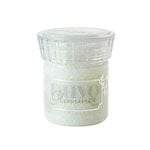
For added interest, I layered the "Smile" die-cut on top of the small diagonal stitch rectangle die-cut from the Mini-Slimline Bundle. The layers are glued together and are still fairly flat for mailing. On this card I used the 6th layer of the slimline stencil to use Nuvo Moonstone Glimmer Paste. And for extra sparkle I used a little Unicorn Stickles from Ranger. Stickles is a quick and easy way to add sparkle!


Scrapbook.com

Dress it up or down

The following card falls into the "maximalist" camp of design. There are many layers of ink and paper and sparkle. For the 6th layer on this one, I used heat embossing with a sparkly powder called Iridescent Ice. The powder was sprinkled onto watermark/embossing ink.  There is more information about how to do that here. This added a nice bit of bling. To take it up another notch, I used the Unicorn Stickles again. 

The butterfly is from a Martha Stewart punch. It, too, is embellished with Stickles. The inks on all of the cards are combinations of Pinkfresh Studio, Altenew, Close to My Heart, and Ranger's Broken China Distress Ink.

For inking through stencils, the most important thing to consider is whether your ink pads are juicy enough. I found that it was time for me to dig out some of my reinkers! It is nice to be able to extend the use of my stamp pad. Yay for having a stash of supplies!
A variety of different ink brands worked well together

Getting maximum use of your tools and supplies

It is a lot of fun to try new things. Everytime I try something new, I am reminded of many favorite 'old' techniques. Sometimes I forget that I can use my new things in familar ways and that the older products still have much life to them! Lately, I have been wanting to engage in retail therapy and shop and shop! And that isn't good for my budget! If I buy a few new things and can use them in the intended ways and come up with additional ones, then I feel like it sort of justifies the purchase! That is the case with the Pinkfresh Studio - Daisy Wreath and Slimline Card stencils and dies. I know that with different color combinations and additional techniques, these will become some of my favorite tools!


Thank you for stopping by today!
Beverly

Additional inks and colors:


or as part of the Green Valley set 

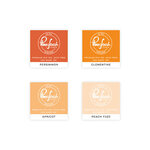
As of October 22, 2021 the following inks are currently out of stock. Maybe you have something similar already at hand?

Monday, October 18, 2021

Stencils: Making Embellishments With Nuvo Glimmer and Glitz Glitter Gel

Having fun with stencils

A few days ago I posted a video about using stencils to make embellishments. This post is a follow-up to it. The main purpose is to show a few still pictures of the process and provide a list of the supplies that I used. The video is posted below the photos. Just a note of warning - It is messy before it is pretty when making embellishments with Nuvo Glimmer and Glitz Glitter Gel!


Making Embellishments With Nuvo Glimmer and Glitz Glitter Gel

This photo shows both products during the plop and smooth stage. This particular stencil is from The Stamp Market. However, in the video I also used stencils from PinkFresh Studio, Lawn Fawn, and The Crafter's Workshop. Pictured below is the Glitz and Glitter immediately after lifting the stencil off the freezer paper.


The products need to dry or cure for at least 24 hours. The stenciled image should be easy to pull off the freezer paper if thick enough and given enough time to dry. If it seems that the embellishment is too fragile to peel off try cutting around the shape with sharp scissors. The paper will not be visible if you cut very close to the edge of the shape. At the bottom of this post, you will find a picture of a card that I made using the black leaves shown above. When choosing a stencil, you want one that has a lot of open space. One that reads as a solid design.


Video

Supplies

I used a variety of ink pads - most are from Altenew


If out of stock above, the items are also available here:


The Crafter's Workshop stencil is a 12 x 12 stencil. It is available by clicking on the bird image above.

The other stencils used in the video are not currently available. I believe that the Pinkfresh Studio one is going to be released at the end of the month.  Here are some suggestions for alternate stencils if you do not have any that have solid looking images. This would make a nice alternative for a large shape:

Or if you are looking for smaller birds, this is a nice 6 x 6 stencil:

Here are some very pretty leaf stencils that would work very well:


As always, please let me know if you have any questions. Thank you for visiting.
Beverly

Thursday, October 14, 2021

Fun Techniques With Stencils - Heat Embossing


Trying New Things

Stencils from The Stamp Market

A couple of weekends ago, I attended a virtual cardmaking workshop with Scrapbook and Cards. Initially, I wasn't going to sign up because I've been making cards for-evah and have A Lot of supplies. However, it is so much fun to learn new things; I went ahead and registered. It was well worth the money, in my opinion! Participants received a wonderful kit beforehand. This was so that we would be prepared to hit the ground running when we logged in for our weekend classes. One of the things in the kit was a layered stencil set from The Stamp Market. After the workshop, I was playing with my goodies and decided to try a fun technique with the stencils - heat embossing. 


Heat Embossing Instructions

There are many good ways to achieve the same results. These instructions are based on what has worked well for me.

Suggested Supplies (with links):

The picture below shows the stencil leaves after embossing with Verdigris embossing powder and then again with Copper embossing powder.

General Steps for Embossing:
  1. If using an anti-static pouch or cornstarch - thoroughly rub over surface. This helps to prevent embossing powder from sticking in unwanted areas.
  2. Apply ink to cardstock (or whatever substrate you are using.) The ink can be applied with a stamp, a dauber, brush, or pen.
  3. Sprinkle embossing powder over wet ink.
  4. Shake off excess powder. Save the excess for future use by funneling back into container.
  5. Heat ink/powder. Move the heat tool so that it is not in one place for too long. As soon as it starts to melt, move to next area to emboss. When all of the powder has melted, cool a bit before placing anything on the surface. Indentations can be made in the cooling powder.
If heat embossing is a new technique for you, you may want to watch the video below.  (I made it over nine years ago!) It shows another technique for Heat Embossing.

Embossed 2 Step Stamping video

The stencils in the following video are layered stencils. This means that they are intended to be used together to create a more realistic look. The layering of the ink adds depth and texture to the leaves. The effect is very pretty. That is true whether using regular dye-based ink or using the Heat Embossing Technique.


The video below shows a more in-depth explanation about how to use stencils with heat embossing.

Heat Embossing with Stencils Video

Please let me know if you have any questions. I hope you enjoy embossing! It is an older technique, but still a good one!
Thank you for visiting today.
Beverly

Additional supplies used in the Fun Techniques with Stencils - Heat Embossing video:

Gina K. Designs Glitter Gel

Silver Embossing Powder

Copper Embossing Powder

Black Sparkle Embossing Powder

Foam Adhesive

Adhesive Pen

Here is an example of a layered stencil: PinkFresh Poinsettia