Paper and Fiber Arts


Welcome to my mixed media blog. Thanks for stopping by.
Showing posts with label Edge distressing. Show all posts

Saturday, May 18, 2013

Scrapbooking Without Pictures

After taking a very long break, I am glad that the first blog post of my work includes an image of two of the biggest blessings in my life. Thanks for sticking it out with me and being here to share it.  I appreciate all the support that you all have shown me! Now on to the actual post...


At Disneyland there is a tiny shop on Main Street where silhouettes are made.  When we went in there last October, we were impressed by an amazing woman who could hand-cut a silhouette in just a few minutes.  She looks at the person and cuts with scissors.  All the while, she is carrying on a conversation!  I love how her artwork looks and wanted to keep it as part of our vacation memories in a scrapbook, even though it is not a photograph.


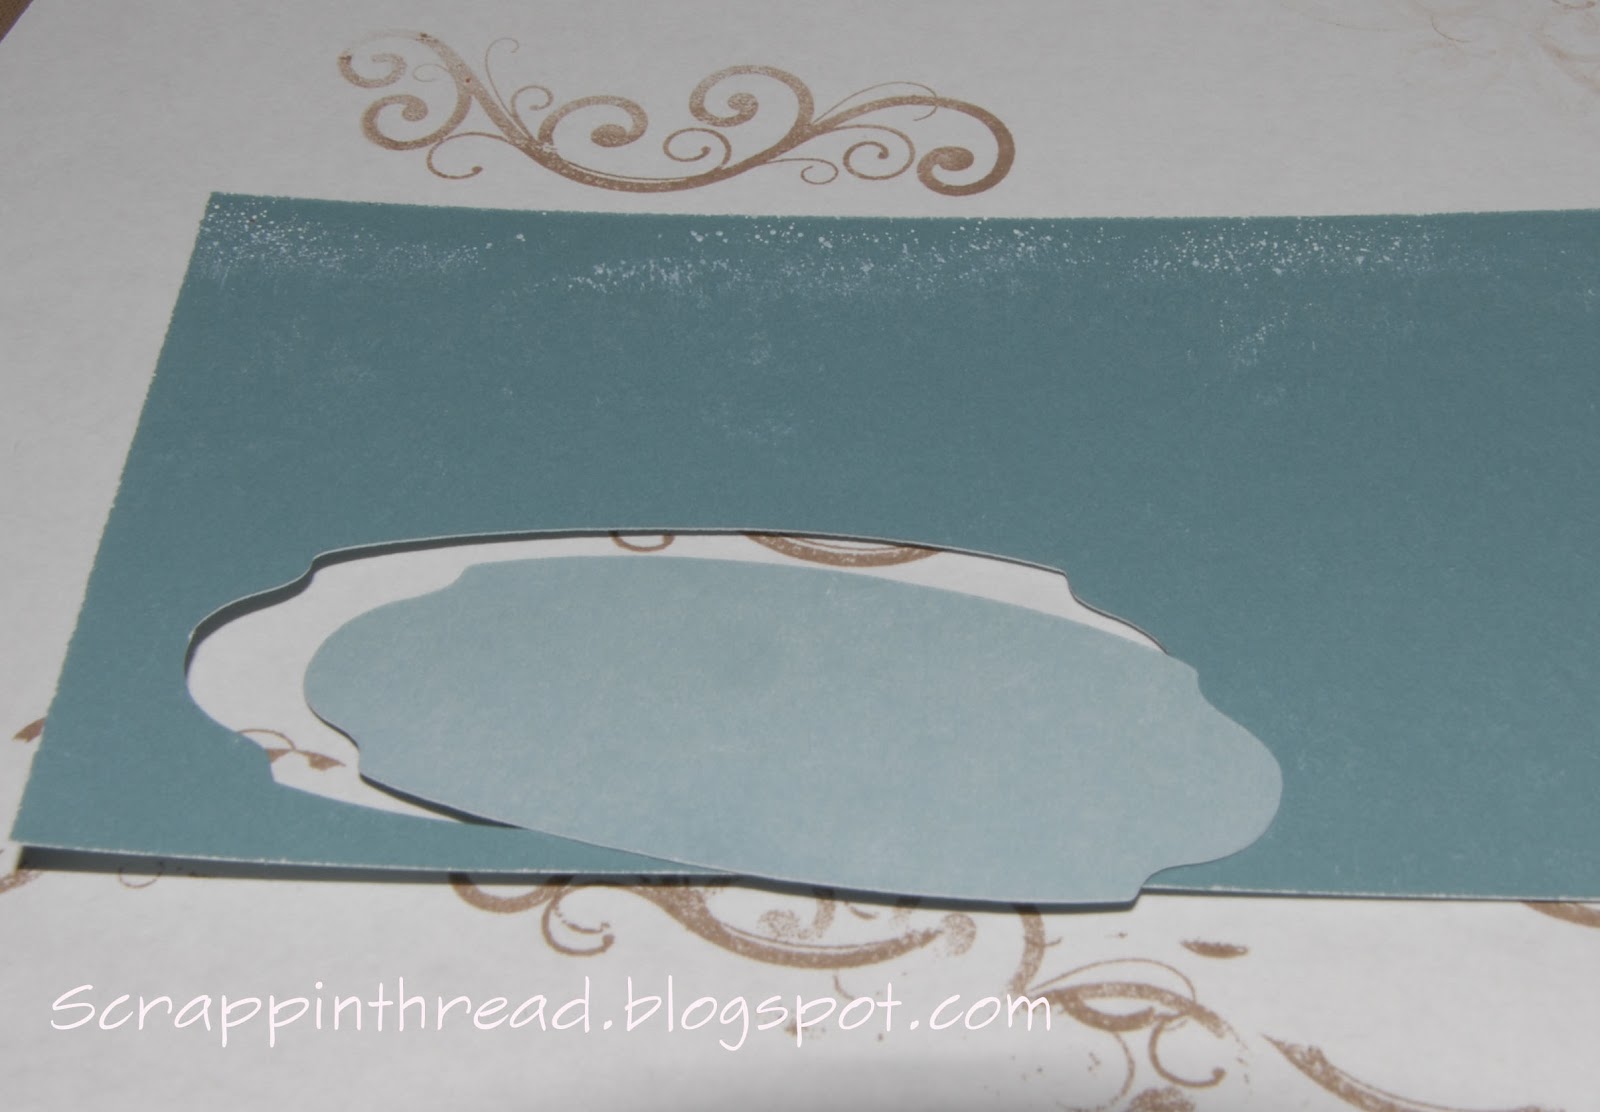
The silhouette is on a rectangular piece of cardstock.  I cut out the oval to mount it with foam tape on the double mat. Using a black paper as the background would give the best contrast, so that is what I chose. The For Always paper packet is classy and vintage-y feeling.  It seemed like a perfect choice for this silhouette of my two daughters. One was celebrating her 8th birthday and the other was 22 at the time.

Click on the picture to see more detail

Each piece of paper was ink distressed and all, except the oval, were edge distressed as well.

CTMH Black Tulle Ribbon made into Flowers and Bow-like Shapes
The black tulle comes on a wide roll.  It is easy to scrunch up into flower-like shapes.  I stapled the 'blossoms' and glued the top one in place and flattened it with a dictionary.  The two at the bottom of the page were attached to the page with brads.

CTMH Sparkles Black Flourishes
Usually, I do double layouts but since it has been such a long time (over six months!) since I have scrapbooked, I thought I would start with a single 12 x 12 page.

CTMH For Always B & T Papers
Initially, I was going to follow this sketch from Creating Keepsakes for a group of pictures that I wanted to scrap.  Rather than wait for the pictures to be printed, I decided to go ahead and modify the sketch to use it today.  It doesn't look a lot like the sketch, but it was the jumping off point for this layout.

All of the materials are CTMH except as noted:
For Always Paper Pack
Black and White Daisy cardstock
Black Tulle Ribbon
Sparkles: Black Flourishes and Black and Grey Assortment
Key from Brocade Assortment
Foundry Metal Pin Clip
Black staples/stapler
Black Soot Distress Ink - Ranger
Mickey Mouse paper clip - from stash
White lace ribbon - Martha Stewart
Grey ruffle ribbon - Pink Paislee House of Three
Washi Tape - Teresa Collins
Spellbinders ornate frame - this was a leftover piece that was in my stash so I don't remember which one it is.
Black thread and sewing machine
Black brads from stash

Thank you so much for stopping by today!
Beverly

Wednesday, April 18, 2012

Two Cards - One Feminine and One Very Rugged

Transparency Overlay on Colonial White Cardstock Base
 The two cards I have posted are very different from each other.  The first has  lace, ribbon and a flower along with a pretty overlay background.  The second one almost looks like something from a camping trip into the wilderness.
Stamped Images are from CTMH  Key Moments Stamp Set
 Both of these were fairly quick to make.  Mainly because  a lot of the components were already done.  On the first card, the diecuts were leftovers from a different project.  The felt frame is a purchased embellishment from a CTMH collection. And the lace is ancient from my stash. On the bottom card I embossed the woodgrain Texture Fade onto Barn Red cardstock - which was leftover from yesterday's card.  The cork embellishments, bakers twine, Durable Studs and bottle caps all come from CTMH.
Image from CTMH  Blue Ribbon set stamped on Evergreen Cork Shape ticket
I love the bottle cap peeking out (like litter) from behind the top 'wood' layer on this card.  This card will go in  my stash so that I can have one at the ready for dh, when I need one.

Have a fabulous day!
Hugs,
Beverly

Tuesday, April 17, 2012

Country Life Embossed Card

Tim Holtz Texture Fades Bricked and Woodgrain used on Base and  First Layer
It has been awhile since I made a card for my dh, just because.  He likes cows for some reason and I love this stamp set - voila, the process is in motion!  As soon as that was decided, I knew that I would use Barn Red cardstock under the sticky backed canvas stamped image.  The white core cardstock looks so cool when it is embossed and sanded.  It is one of my favorite things to do with embossing folders.

The Tim Holtz Texture Fades folders come with two different designs in a package.  It seemed like a waste not to use the woodgrain one since it was already out of the package.  So I ran the natural cardstock base through the Cuttlebug with that one.  After distressing the edges, inking and tying a piece of jute to the card, it was just about done.  The last little step was to add some antiqued copper brads and a photo clip. A fast and easy card for my dh, who deserves to know how much I appreciate him, even though he doesn't always get a card! :-)
Stamped Images are from CTMH Country Life 
Thank you so much for stopping by today!
Beverly

Supplies:
Paper: CTMH - Barn Red and Colonial White, Natural Cardstock from stash, Claudine Helmuth Sticky Backed Canvas
Ink: CTMH - Black, Tim Holtz Distress - Vintage Photo
Stamps: CTMH - Country Life
Embellishments: Jute (Hobby Lobby), CTMH Antiqued Copper Brads and Photo Clip
Tools: Cuttlebug, Edge Distresser, Cricut Art Philosophy Cartridge (label for sentiment)

Saturday, March 10, 2012

Shabby Chic Layout / Painting With Reinkers To Create Vintage-Like Weathered Papers

Edited on 6/21/2012 - Reposted after having been removed for publication. 
12 x 12 Painting/Painted Layout
 As time goes by, I find myself becoming more eclectic in my tastes.  Somedays I am in a clean and simple (CAS) mood and others.... well, it is good the kitchen sink is bolted in - otherwise with my "more is more" attitude, anything is fair game. :-)
This layout uses a lot of stuff.  The hardest part for me is to commit to using up my stuff.  Hoarder, maybe?  For some reason it is easier for me to use plain cardstock and pretty it up rather than use a lot of patterned paper.  Here is how I transformed the Twilight cardstock, and to a lesser extent the Colonial White cardstock, into the gussied up paper in the layout.
"Altered" Cardstock used for  Flowers and Labels
 There are different types of reinkers.  The kind I used to 'paint' the cardstock is a pigment ink.  This is thicker than dye ink and needs to have a long drying time or can be heat set with a heat gun.
CTMH Colonial White Pigment Reinker on Twilight Cardstock
 After applying a small amount of ink to the cs, sponge it around and smooth it out with the sponge as you go.
Adding a faux texture to the cardstock with reinker
 The paper does not having any bumps, it just looks like it has some texture to it.  Sort of like a suede look.  After heat setting it or allowing it to dry a LONG time, it can be stamped or distressed in a multitude of other ways.  I used background stamps and other single image stamps to create a background-effect.  Some were stamped with 2nd and 3rd generation stamping to give a progressively more subtle effect.
Original Twilight CS and Altered CS to Show Contrast in Coloring
 Several of the pieces I decided to cut with the Cricut and then further alter the individual pieces once they had been cut.  The larger piece pictured above is the mat for the photo in the layout.  It was adhered under a piece of Colonial White cardstock that was ink distressed and edge distressed after using a border bunch on one side and cutting a circle from the center. Then it was spritzed with a little bit of Mister Huey's Color Mist.
Art Philosophy Cricut Label Cut Out After Ink Painted
 The picture above shows the back of the cardstock along with the front of the painted piece after it was cut.  The inking did not cause any problems with getting a good, sharp cut with the Cricut.
CTMH Chocolate Ink with AE Stamp Used on "Painted" Label Layered on top of Linen Fabric
 The great thing about this technique is that you can continue to add ink through sponging, stamping or direct to paper as much as you like.  It is a forgiving type of inky fun. More is ok in this type of creating!
Retired CTMH B & T Paper for Journaling Tag and Base
 The photograph that I used is an original picture of me from (I believe) 1966.  I love this picture because it shows me intent on painting.  It reminds me of how I am now when I am working on projects.  I also love it because my dad took it and I don't have very many things that connect me to him.  Now that I have written that, I think I'll add that to a little hidden journaling under the Bo Bunny diecut journal paper, which is immediately under the photo.
Happy Painting!
Supplies:
Paper: Cardstock and B & T are all CTMH, Bo Bunny Noteworth Journal Diecut
Stamps: CTMH - Potential March 2012 SOTM, Universal Backgrounds, The Best Things. Ali Edwards - Favorite Memories
Ink: CTMH - Colonial White Pigment, (and reinker) Chocolate, Twilight, Bamboo, White Daisy Pigment
Embellishments:  Linen fabric,Mulberry Paper, Prima Wood Tickets, Making Memories off white flower, (in right hand corner) May Arts ribbon,  All other items are from Close to My Heart - Bitty Buds Assortment, Flutter Paper Shape, Foundry Binder Clip, Durables Round Pewter Studs, Sparkles Flourish, Sparkles, some Sparkles and retired hat pin colored with Copic Markers, Kraft Border
Supplies: Sewing Machine and thread, EK Success Scrolls and Dots Edge Punch, MS Doily Lace Edge Punch, Mister Huey's Classic Calico and Bonny Blue

Thanks for visiting and making it through such a long post!
Have an amazing day!
Hugs,
Beverly

Saturday, January 14, 2012

You Warm My Heart

CTMH A Sip Stamp Set A1109
 This is another fast and easy card.  It is for my dd1, who is away at college.  The background is made from the Hearts Sizzix embossing folder. It is packaged with another of their Textured Impressions folders called Curlique.  I ran a 6 1/4" x 4 1/4" piece of CTMH Cranberry cardstock through the Cuttlebug and then used a sanding block to uncover the white core of the cardstock.  The bottom of the cardstock was purposely not embossed because I knew that I wanted to stamp the sentiment there.  I sanded around the edge of the Cranberry cardstock to bring out more of the core.  Using white core cardstock with dry embossing is one of my favorite techniques!

Edge Distressing  on Focal Image and Matting
The ink for the cup and heart is Cranberry.  I used a Cranberry brad to form the center of the baker's twine bow.  The steam and sentiment are stamped with black ink.  The little heart image comes from the CTMH Love Life set.  The card base is black cardstock.  This can be written on with a white gel pen or a light colored insert can be adhered inside the card.

Thank you for visiting with me today!
Beverly

Saturday, September 12, 2009

September's 6 x 6 Make and Take

Lots of distressing on this layout! The white core on the black paper creates a lot of depth when distressed. I'll probably use Liquid Glass on the bat to make it shiny.