Paper and Fiber Arts


Welcome to my mixed media blog. Thanks for stopping by.
Showing posts with label Bling. Show all posts

Tuesday, July 4, 2023

Stenciling With Markers


Here are two cards made with the same stencil and dies. The stenciling was done with two different types of markers. 

First, the card with the negative piece of the 'hugs' die cut was colored with Karin pigment brush markers. These are non-pumping, meaning you shake them and they are ready for painting onto the cardstock.
The Decobrush markers contain opaque acrylic, non-toxic organic pigment-based paint. I wanted to use them as line art, rather than fill in the shapes. This worked great for all except the purple, which leaked under the stencil. That is an operator error issue and had I dabbed off the paint onto scrap paper, it wouldn't have occurred. 

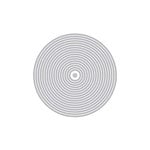
Hero Arts Stacked Circle Stencil With Karin Paint Pen Marker


Cute circle embellishments were used to cover up the ink blobs and to add interest.  Using small white circle off-cuts from my stash, clear dots, and colored sprinkles elevate the fun and color on this card.
The second card is made with the same stencil. This time the shapes are colored in with Zig Clean Color Real Brush markers. These are waterbased and provide a concentrated pop of color.
Initially, I was going to assemble the card as pictured above. To cut the Altenew 'hugs' out as a circular piece, one needs to use a circle die that is large enough to go around the perimeter of the word. You can make the circular frame as large as your largest circle. However, I like to make it about as narrow as the lettering. Having a set of nesting dies helps so you can audition the sizes before actually cutting. In the end, the black piece was cut using the nesting circle and the 'hugs' die, and a white piece with just the sentiment, as pictured below. I like the color peeking out from under the clean and simple top piece.


Thank you for stopping by. Have a colorful day!

THIS POST MAY CONTAIN AFFILIATE LINKS. BY CLICKING ON THEM AND PURCHASING PRODUCTS THROUGH MY LINKS, I RECEIVE A SMALL COMMISSION FOR THE REFERRAL. THE ITEM WILL NOT COST YOU ANY MORE BY GOING THROUGH THIS LINK.

Friday, June 30, 2023

Bubble Wrap Embossing


Accidental Embossing

An interesting thing happened when I laid a piece of mini-bubble wrap onto the card front when running it through the die-cutting machine to cut a smaller panel. I was trying to maintain the shape of the white splatters and hoped the bubble wrap would absorb enough of the pressure to keep the splatters intact. That did not happen but it created a fun, new look - Bubble Wrap Embossing! The picture below shows it in better detail.

Embossed with Bubble Wrap
The images on this card are stamped on a panel that was eventually cut to size using the Gina K. Master Layouts die set. The kraft cardstock layer was also cut using the set. After stamping the large floral image from the Altenew Tranquility Rose set and masking it to stamp the leaves, I decided to add the wonderful bee from the Sweet as Honey stamp set from Hero Arts. Then using Copic markers, I colored all of the images. This looked nice but a little flat. I put the mask back on the rose and ink blended with leftover ink on my blue blender brush. It still wasn't quite right. At this point, my go-to is either white or black splatters. The black ink was absorbed too much, so I used Dr. Ph Martin's bleedproof white to add a bit more interest. This looked great! Then I realized that I needed to cut the piece down a wee bit. 


It would have been possible to do it with a paper trimmer but I like the edge that you get with a die. And then the bubble wrap experiment happened. I really like the bubble wrap effect. What wasn't appealing was the smooshed splatters. When things go awry, my next go-to is adding bling. The sparkly stars and sequin pieces saved the mess and added a sort of magical element to the card.

If you give embossing with bubble wrap a try, I'd love to see it! Happy card-making!


THIS POST MAY CONTAIN AFFILIATE LINKS. BY CLICKING ON THEM AND PURCHASING PRODUCTS THROUGH MY LINKS, I RECEIVE A SMALL COMMISSION FOR THE REFERRAL. THE ITEM WILL NOT COST YOU ANY MORE BY GOING THROUGH THIS LINK.

Monday, April 24, 2023

Stepping Up Stamped Images Through Shading


Beautiful Details is the first class I've completed in the AECP Level 2 series. Wowza! It is filled with beautiful details showing how to step up stamped images through shading and coloring. This class is available through Altenew Academy and one does not need to be going through the certification process to take it. Marika Rahtu is the instructor. She showcases her clean aesthetic while sharing her coloring techniques. As a long-time stamper/paper crafter, I found many valuable ideas in the class and highly recommend this one for all levels of stamping enthusiasts. Here is one idea of Marika's that I adapted to make this clean and simple card.


Stamp as Usual

All of the stamped images are from the Build-A-Flower: Primrose Layering set. The sentiments in the set are a mix-and-match series of words or partial statements. I masked a couple of the primrose images to make it look as though they are behind the other flowers. The photo above shows the images stamped following the instructions which are included in the stamp packaging. It is easy to follow the color order if you have an ink pad family of colors, such as the Martian Terrain set. This set includes four ink colors, I used these three for the orange/peach flowers on the left-hand side: 

Pastel Sunrise
Canyon Clay
Burnt Red

It is easy to use inks from different families, also. The yellow primrose center was stamped with the Pastel Sunrise color from the Martian Terrain set. The first two yellow layered images used Fresh Lemon and Honey Drizzle. These are in the Pocketful of Sunshine ink set.

Add Shading to the Stamped Images

The images are very pretty as they are. However, it is fun to step up the images by coloring and adding shading. To add this extra level of depth and detail to the multi-layered stamped images, I colored the images with alcohol ink markers. To add some sparkle, I used the Clear Star Gelly Roll pen in the centers of the flowers, along the leaf vein, and over the word, "amazing".


Additional sparkle comes from Pink & Main's Silver Glossy Dots. These are self-adhesive and are easy to place. So easy, in fact, that I got a bit carried away with them!


The card front stands out with a black piece of cardstock mounted behind it and then adhered to the card base. Each layer was glued; they are not popped up.


THIS POST MAY CONTAIN AFFILIATE LINKS. BY CLICKING ON THEM AND PURCHASING PRODUCTS THROUGH MY LINKS, I RECEIVE A SMALL COMMISSION FOR THE REFERRAL. THE ITEM WILL NOT COST YOU ANY MORE BY GOING THROUGH THIS LINK.

Tuesday, April 18, 2023

Altenew Educator Certification Program Level 1 Challenge - Part Two


Ink-Blended Sentiment Strip

Hello! Welcome to the final leg of the AECP Level One Challenge. This is Part Two. Part One can be found here. The Altenew Educator Certification Program (AECP) has a culminating challenge of making two card sets along with gift packaging. The cards or packaging need to include a recycled element.  Here is a quick video showing how I crafted a wrapper for the eight feminine-leaning cards out of a piece of paper that was packaged around part of a box. 
Video Tutorial for Gift Packaging
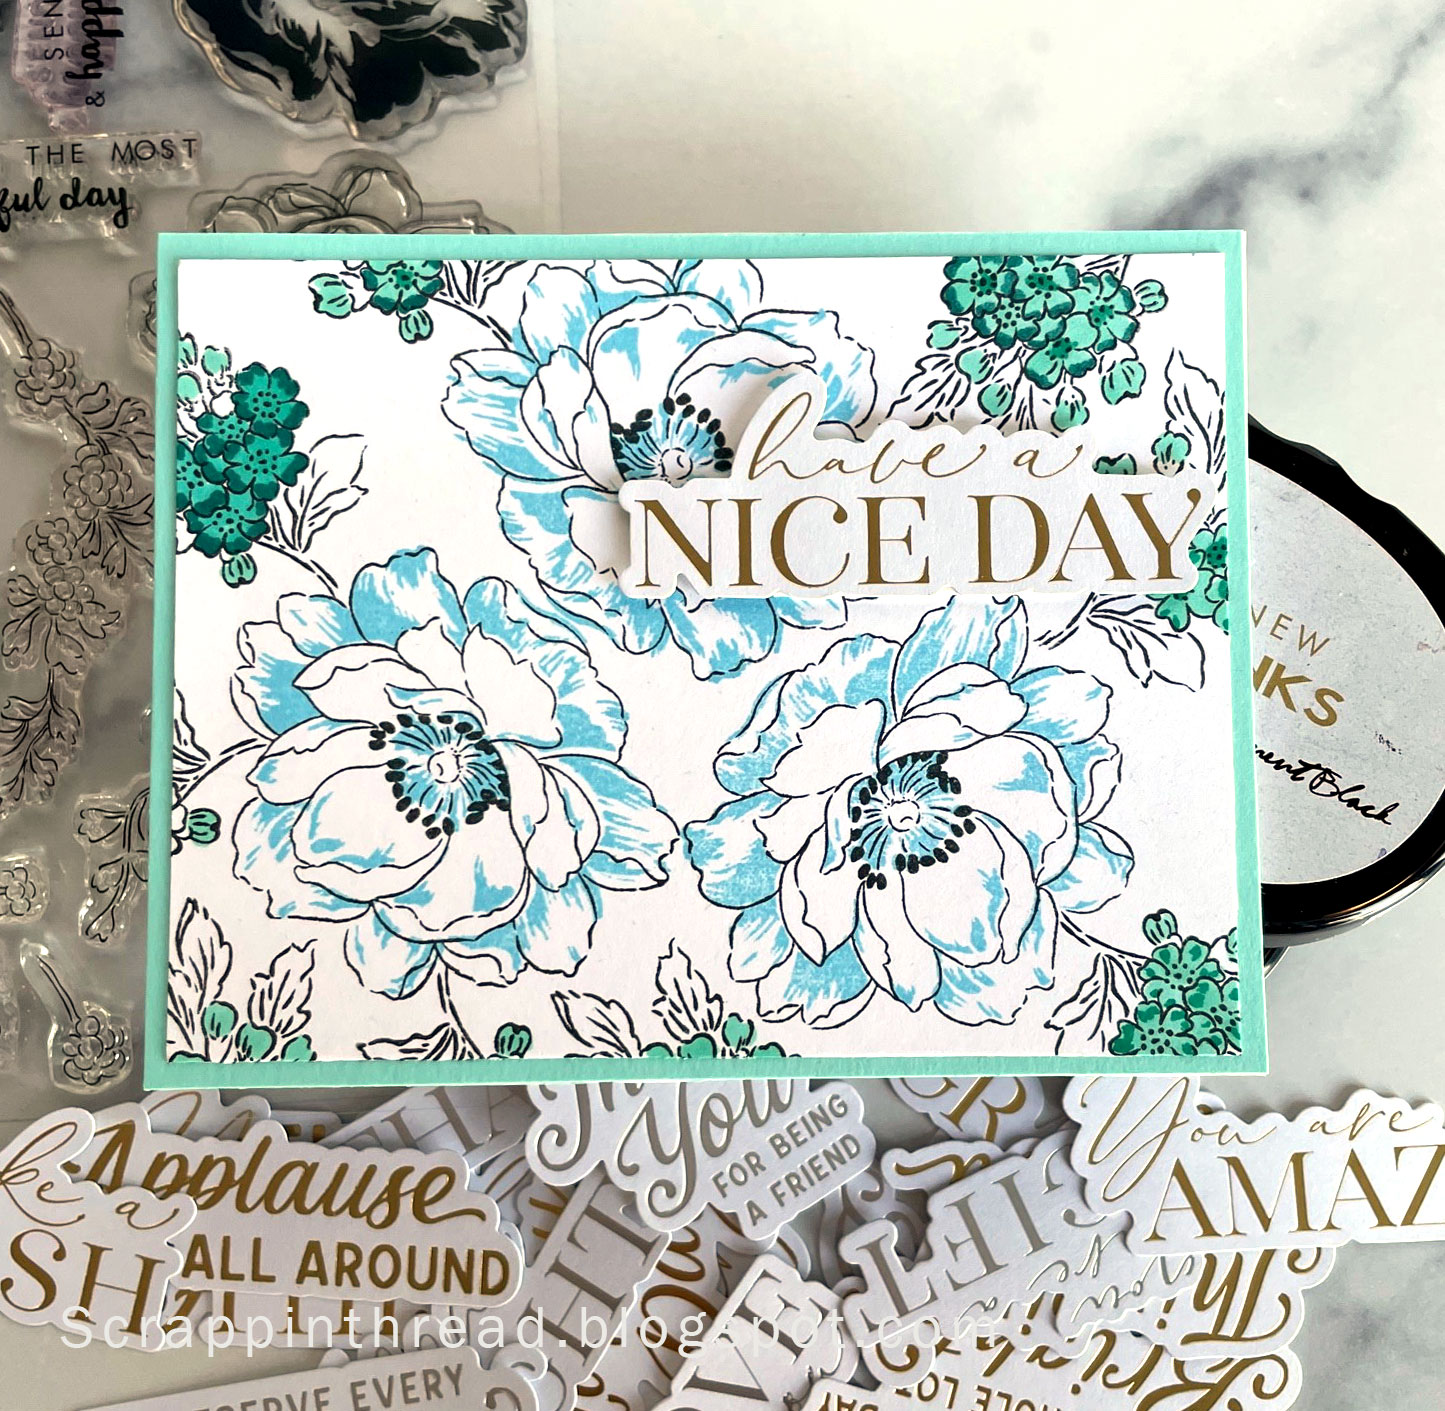
Each of the eight different cards was made with the Beautiful Day stamp set. I love this set because, in addition to having a stunning floral outline stamp, it is easy to create gorgeous multi-layered images. Multi-layered stamping is quick, yet very impressive looking. Some of the cards use different shades of the same color family of inks. Others use the same ink pad with one or two of the filler stamps. Each time a new layer is stamped, it darkens the ink underneath and creates a wonderful level of dimension. 

Beautiful Day Stamps and PinkFresh Foiled Sentiments
In addition to the multi-layered stamp images, there are some smaller, airy filler images that I colored with a variety of media. The card pictured above has the smaller images colored with Altenew's alcohol markers. The large flowers are stamped with two of the four multi-layer stamps. The outline images on the card posted below are colored with a few Gelly Roll pens. That gives a bit of fun gloss to the card front.

It is easy to bring a bit of bling to cards through the use of sequins or other sparkly embellishments. For the card shown below, a thin piece of gold washi anchors the sentiment. My die-cutting machine recently broke after serving me well for many years. I found a package of gold and silver foiled die cuts in my stash and they were perfect to add an additional blingy component. 
The floral images are stamped with three of the four multi-layer stamps

Some sentiments are substantial enough that they can float on a card with great effect. However, I think many sentiments need to have something to anchor them to the page or the layout of the card. The Sending You Sunshine card pictured below has a narrow piece of organza ribbon running across the card front. The ribbon is sheer so it adds interest to the card without obscuring the pretty floral images.

Sunshine Card using all four of the multi-layer stamp images

The image pictured below shows the cards in progress while being colored. Even though the colored images are very pretty, sometimes it is nice to have another layer on the card.
Alcohol Markers and Gel Pens Used on Stamped Images


The card front layered with a piece of vellum on top


The gatefold card offers another way to make a card a little more interesting. The picture showing the opening of the card (below) lets you peek inside to see a wider piece of gold washi tape.


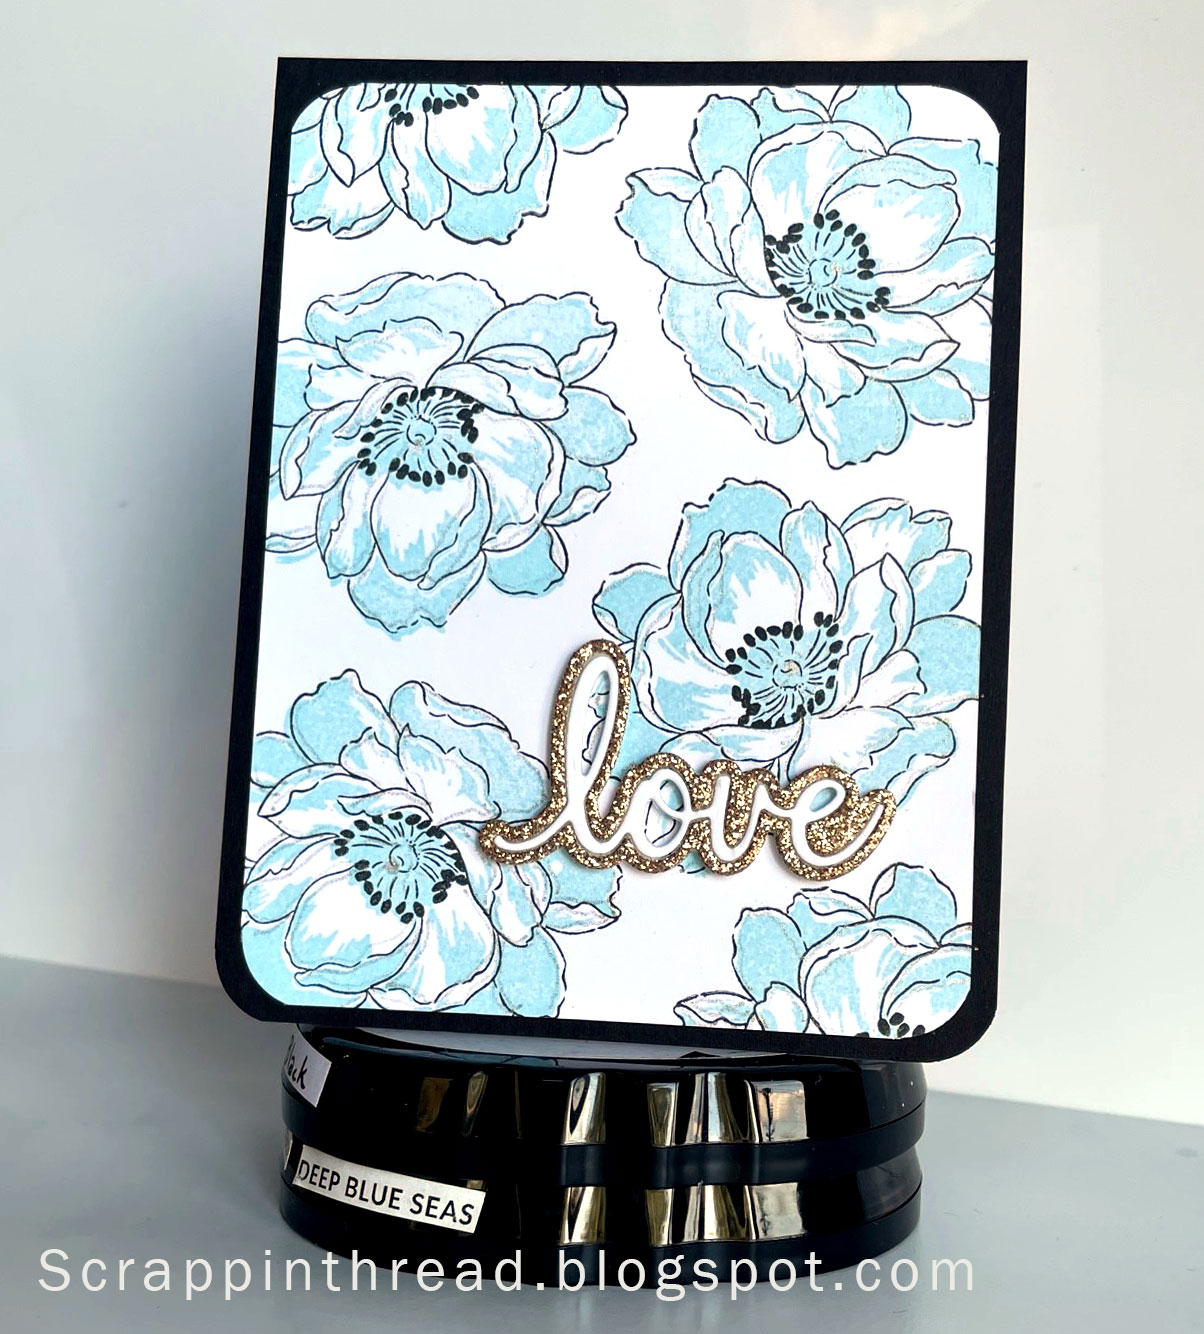
Lastly, this card makes a simple yet lovely backdrop for the sentiment that truly says it all, love. The sentiment works well because it ties in some of the gold from the other cards and has a glittery outline. This was one of the last dies to make it through the die-cutting machine before it had to be retired. 😄


Some of the techniques used on these cards:
  • Random Stamping
  • Layered Stamping
  • Ink Blending
  • Bling through embellishments, cardstock, and washi
  • Dimensional layering
  • Die-Cutting
  • Fancy Fold - Gatefold Card
  • Matted Card Front
  • Coloring with Alcohol Markers and Gel Pens
  • Doodling as an outline for the card front


THIS POST MAY CONTAIN AFFILIATE LINKS. BY CLICKING ON THEM AND PURCHASING PRODUCTS THROUGH MY LINKS, I RECEIVE A SMALL COMMISSION FOR THE REFERRAL. THE ITEM WILL NOT COST YOU ANY MORE BY GOING THROUGH THIS LINK.


Products Used:


Permanent Black Crisp Dye Ink


Wednesday, May 22, 2019

Gender Neutral Cards with Altenew's Radial Hearts


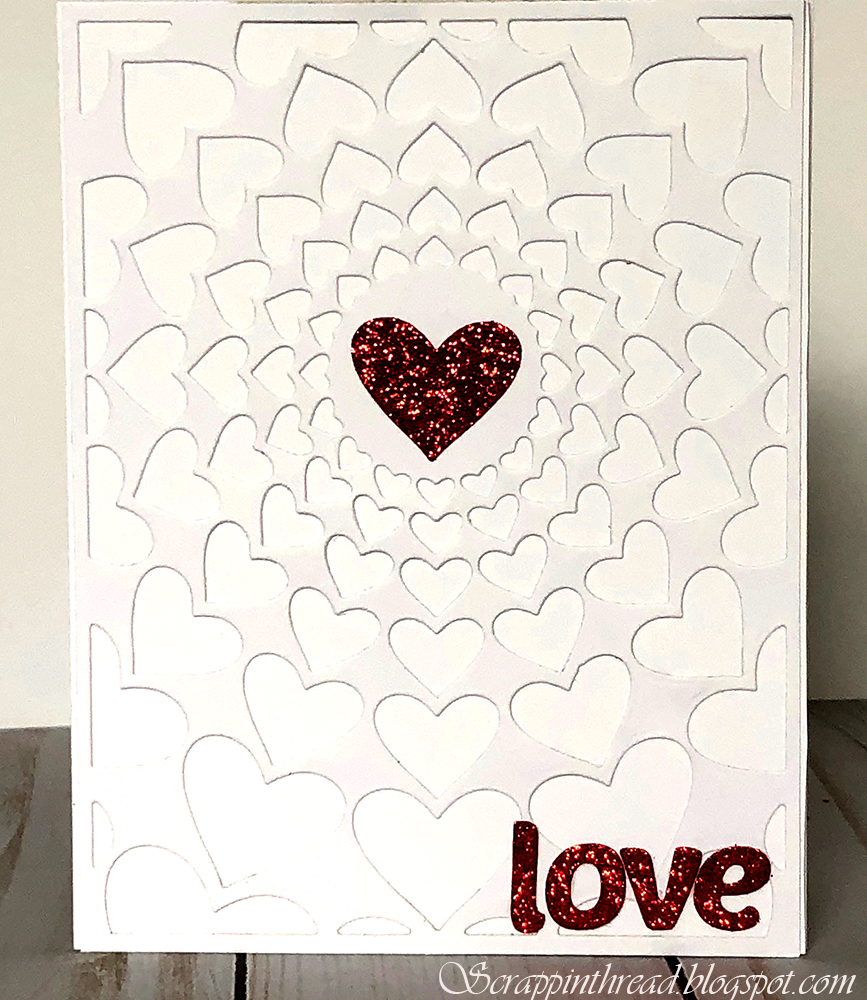
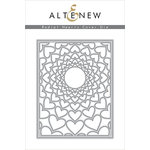
I don't know why hearts are always considered "female" in design.  Guys have them, too.  When someone uses the term "masculine" in design, it seems as though it is leaving out females who do not care for frilly or blingy things. So in the spirit of including everyone's aesthetic, I am calling these "Gender Neutral Cards."  Yes, there are still hearts involved because I used Altenew's Radial Hearts cover die.
Can you see the Simple Alpha "hi" in the corner?

These were all very easy and quick to make. The hearts from the first card were stacked and glued onto the second card.  In the lower right-hand corner the word "hi" is barely noticeable. Subtle and simple is what this card is about.
The next card was watercolor/grunge inspired. I applied five colors of Distress Oxide onto white cardstock and then wet it.  The Radial Hearts die cut image, a butterfly, and sentiment are layered on top. This was easy and fun to make.


Blue and Green Distress Oxide Inks
A little spritz of glitter mist on top
 I can not help myself. There was one more blingy card leftover on my phone that should have gone in yesterday's post.  So here it is, in case anyone wants to see another mailable, very easy-to-make card. To finish off the Radial Hearts theme, later this week I hope to have a scrapbook page and video showing how to do the glitter part of yesterday's cards.  Supplies that are currently available are posted below. The rest came from my stash. Thank you for visiting!